How do I use Globus Connect Server with Wasabi?
How do I use Globus Connect Server with Wasabi?
Wasabi is now validated for use with Globus Connect Server to deliver advanced file transfer and sharing capabilities. We have tested Wasabi with Globus Connect Server version 4.0.57 with AWS S3 connector add-on.
- Creation of buckets on Wasabi cloud storage. If you need help with that please click here.
- A Globus Connect Server with AWS S3 Connector (The connector is available as an add-on subscription to organizations with a Globus Standard subscription)
- admin access to the Globus Connect Server via ssh
In order to configure the Globus Connect Server to use your Wasabi storage, follow these simple steps:-
Step 1 – Configure the AWS S3 connector
Edit the file /etc/globus/globus-gridftp-server-s3.conf and set the host_name option to be the appropriate Wasabi S3 endpoint URL for the desired region. While buckets in all regions will be accessible, buckets created by the AWS S3 Connector connector will be created in this region. This would generally be the closest region geographically.
For example, to configure the AWS S3 Connector to use the us-east-1 Region:
host_name = s3.wasabisys.com
(Note – if you would prefer to create buckets in a region other than us-east-1 use the appropriate service URL. See here.)
Step 2 – Create a file for each user containing the S3 credentials
Each user will need to have a special file created which specifies the S3 credentials associated with their local user account. The default s3_map_filename configuration for the AWS S3 Connector looks in $HOME/.globus/s3 for a file mapping the current user’s ID to S3 access keys. Each user who will be using the AWS S3 Connector must create such a file with their credentials. This file can be created and populated by the user with the following commands:
# mkdir -m 0700 -p ~/.globus
# (umask 077; echo "$(id -un);$S3_ACCESS_KEY_ID;$S3_SECRET_ACCESS_KEY"
    > ~/.globus/s3)
For example, the s3 file mentioned above should look like this:-
#userjoe@GlobusConnectServer:~/.globus$ cat s3
userjoe;S08WABCDC38C2M4PN0IX;tTNi4tgnskdldk890HSG2HYDMQ7n7jKrRwWXPJDY
(Note – Dont use the access and secret key above, it is just an example)
OPTIONAL – Since the S3 users need not have user accounts on the local Globus Connect Server endpoint, S3 transfers can be configured to run under a local service user account. Create a user named globus-s3, and add the following line to the /etc/gridftp.d/gridftp-s3 configuration file:
process_user globus-s3
The s3_map_filename credential file ($HOME/.globus/s3) configuration, and Globus Connect Server configuration that refers to $HOME, will be using the home directory of this account. Ensure that these files are only accessible by the globus-s3 account.
All credentials must be stored in a single s3_map_filename in the format above, by default in the file ~globus-s3/.globus/s3. The username must correspond to the username based on the Globus Connect Server AuthorizationMethod
For more information on the steps above you can visit this page.
Step 3 – Use the Globus app web interface
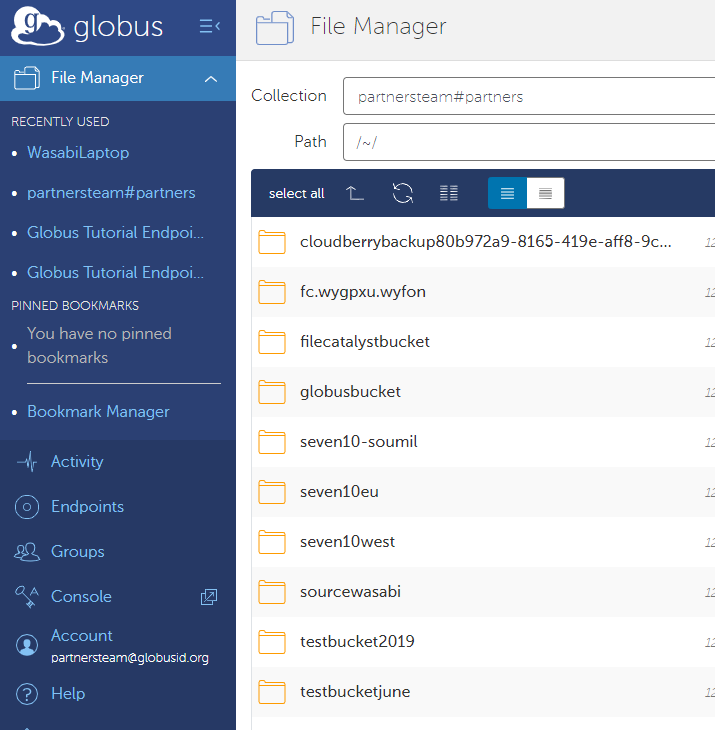
At this point, you should be able load your Wasabi buckets after successfully logging in to your Globus Connect Server endpoint through the Globus web app (https://app.globus.org/)
In order to perform a file transfer click on File Manager, and enter the name of your Globus Connect Server endpoint (example below, partnersteam#partners) in the Collections field to load the buckets.
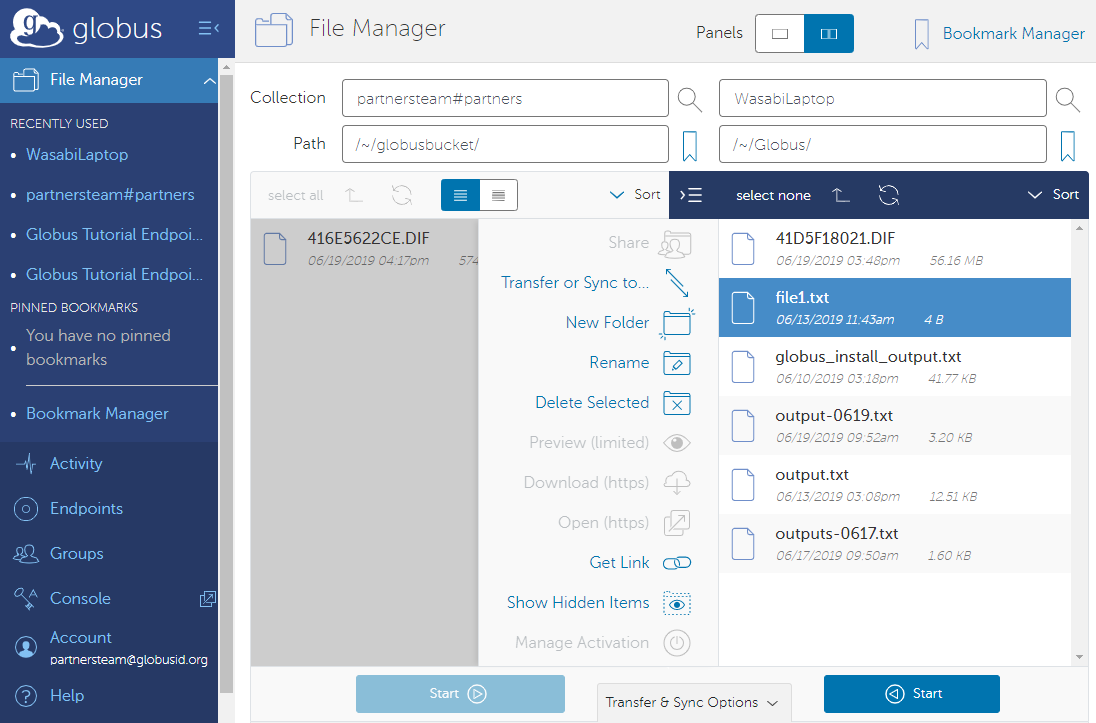
On the right panel, you can enter a different endpoint as a Collection and perform file transfers back and forth. In the example below a Globus Connect Personal client is installed on a PC (ex. – WasabiLaptop below) to act as an endpoint.
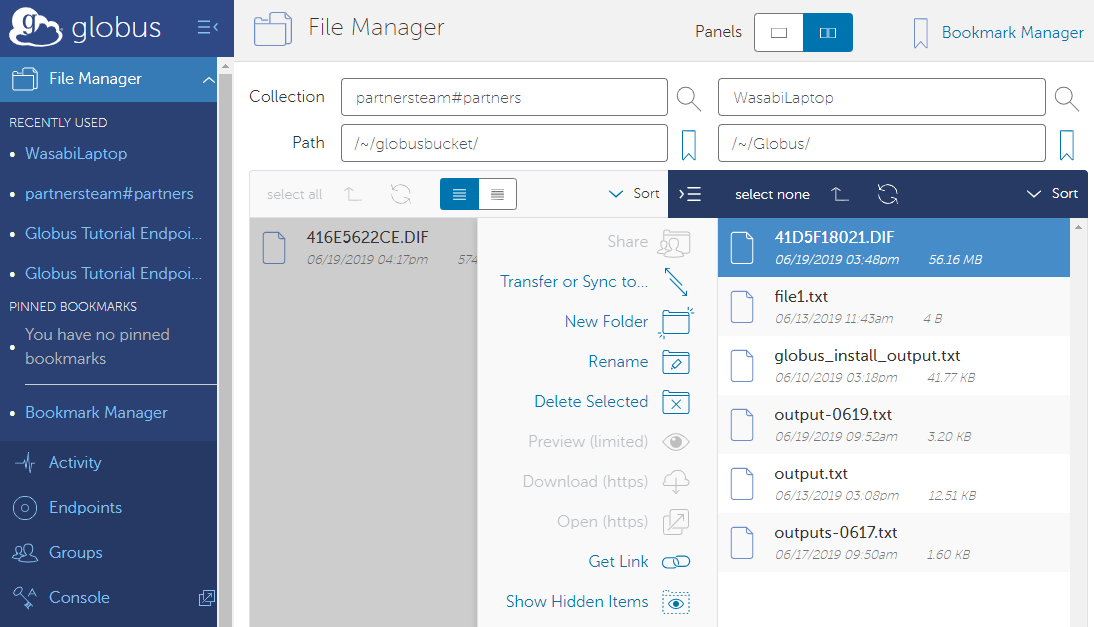
Select the file you would like to transfer, and hit Start at the bottom to initiate the transfer.
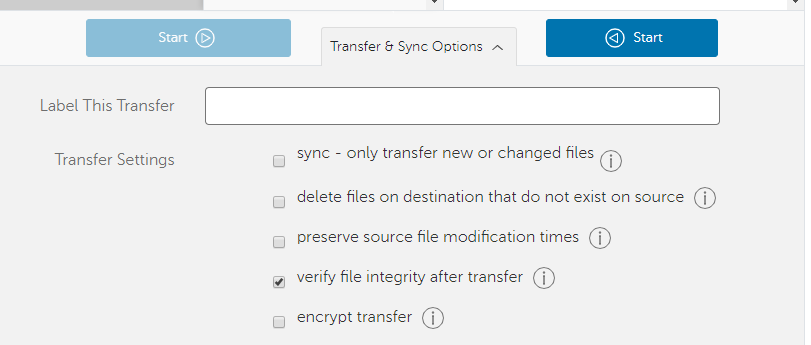
You can even select some of the Transfer & Sync Options by clicking the down arrow key shown above.
Once the transfer is requested successfully you will see the following notification on the screen.

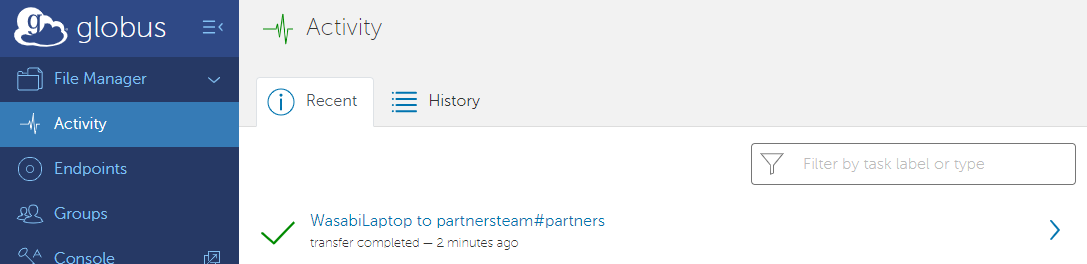
Click on the Activity button on the left bar to see if the transfer goes through successfully.
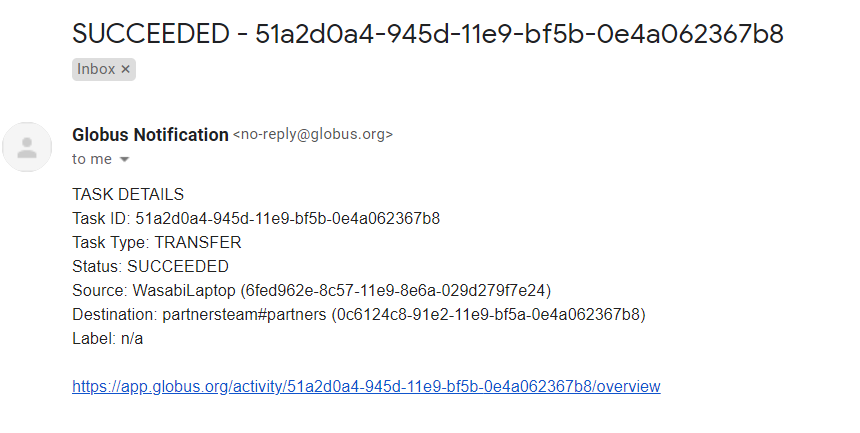
You should also expect to get an email notification from Globus about the status of the transfer, once completed.
the bucket
Wasabi is now validated for use with Globus Connect Server to deliver advanced file transfer and sharing capabilities. We have tested Wasabi with Globus Connect Server version 4.0.57 with AWS S3 connector add-on.
- Creation of buckets on Wasabi cloud storage. If you need help with that please click here.
- A Globus Connect Server with AWS S3 Connector (The connector is available as an add-on subscription to organizations with a Globus Standard subscription)
- admin access to the Globus Connect Server via ssh
In order to configure the Globus Connect Server to use your Wasabi storage, follow these simple steps:-
Step 1 – Configure the AWS S3 connector
Edit the file /etc/globus/globus-gridftp-server-s3.conf and set the host_name option to be the appropriate Wasabi S3 endpoint URL for the desired region. While buckets in all regions will be accessible, buckets created by the AWS S3 Connector connector will be created in this region. This would generally be the closest region geographically.
For example, to configure the AWS S3 Connector to use the us-east-1 Region:
host_name = s3.wasabisys.com
(Note – if you would prefer to create buckets in a region other than us-east-1 use the appropriate service URL. See here.)
Step 2 – Create a file for each user containing the S3 credentials
Each user will need to have a special file created which specifies the S3 credentials associated with their local user account. The default s3_map_filename configuration for the AWS S3 Connector looks in $HOME/.globus/s3 for a file mapping the current user’s ID to S3 access keys. Each user who will be using the AWS S3 Connector must create such a file with their credentials. This file can be created and populated by the user with the following commands:
# mkdir -m 0700 -p ~/.globus
# (umask 077; echo "$(id -un);$S3_ACCESS_KEY_ID;$S3_SECRET_ACCESS_KEY"
> ~/.globus/s3)
For example, the s3 file mentioned above should look like this:-
#userjoe@GlobusConnectServer:~/.globus$ cat s3
userjoe;S08WABCDC38C2M4PN0IX;tTNi4tgnskdldk890HSG2HYDMQ7n7jKrRwWXPJDY
(Note – Dont use the access and secret key above, it is just an example)
OPTIONAL – Since the S3 users need not have user accounts on the local Globus Connect Server endpoint, S3 transfers can be configured to run under a local service user account. Create a user named globus-s3, and add the following line to the /etc/gridftp.d/gridftp-s3 configuration file:
process_user globus-s3
The s3_map_filename credential file ($HOME/.globus/s3) configuration, and Globus Connect Server configuration that refers to $HOME, will be using the home directory of this account. Ensure that these files are only accessible by the globus-s3 account.
All credentials must be stored in a single s3_map_filename in the format above, by default in the file ~globus-s3/.globus/s3. The username must correspond to the username based on the Globus Connect Server AuthorizationMethod
For more information on the steps above you can visit this page.
Step 3 – Use the Globus app web interface
At this point, you should be able load your Wasabi buckets after successfully logging in to your Globus Connect Server endpoint through the Globus web app (https://app.globus.org/)
In order to perform a file transfer click on File Manager, and enter the name of your Globus Connect Server endpoint (example below, partnersteam#partners) in the Collections field to load the buckets.
On the right panel, you can enter a different endpoint as a Collection and perform file transfers back and forth. In the example below a Globus Connect Personal client is installed on a PC (ex. – WasabiLaptop below) to act as an endpoint.
Select the file you would like to transfer, and hit Start at the bottom to initiate the transfer.
You can even select some of the Transfer & Sync Options by clicking the down arrow key shown above.
Once the transfer is requested successfully you will see the following notification on the screen.
Click on the Activity button on the left bar to see if the transfer goes through successfully.
You should also expect to get an email notification from Globus about the status of the transfer, once completed.
related articles

Responsible AI Use: Lessons from an Industry Insider

Protect Your Research Data with Cost-friendly, Powerful Cloud Backup Solution from Wasabi and Atempo

Addressing AI Infrastructure Challenges with Wasabi and Hammerspace

Unleash the Power of Cyber Resilience: Acronis and Wasabi Join Forces

Introducing Wasabi AiR: Unleash the Power of AI with Intelligent Media Storage
featured articles
WASABI MEDIA & ENTERTAINMENT
April 10, 2024
Introducing Wasabi AiR: Unleash the Power of AI wit...
Introducing Wasabi AiR: Unleash the Power of AI wi...
TECHNOLOGY
April 23, 2024
Responsible AI Use: Lessons from an Industry Inside...
Responsible AI Use: Lessons from an Industry Insid...
TECH PARTNERS HEALTHCARE
April 18, 2024
Protect Your Research Data with Cost-friendly, Powe...
Protect Your Research Data with Cost-friendly, Pow...
TECH PARTNERS
April 11, 2024
Addressing AI Infrastructure Challenges with Wasabi...
Addressing AI Infrastructure Challenges with Wasab...
VIDEO SURVEILLANCE
April 9, 2024