How do I use Komprise Intelligent Data Management with Wasabi?
How do I use Komprise Intelligent Data Management with Wasabi?
Komprise Intelligent Data management has been validated for use with Wasabi. Follow steps outlined below to configure Wasabi as a cloud storage target.
1. Login to your Komprise account:
2. Click on “Data Stores” and click “Add New”

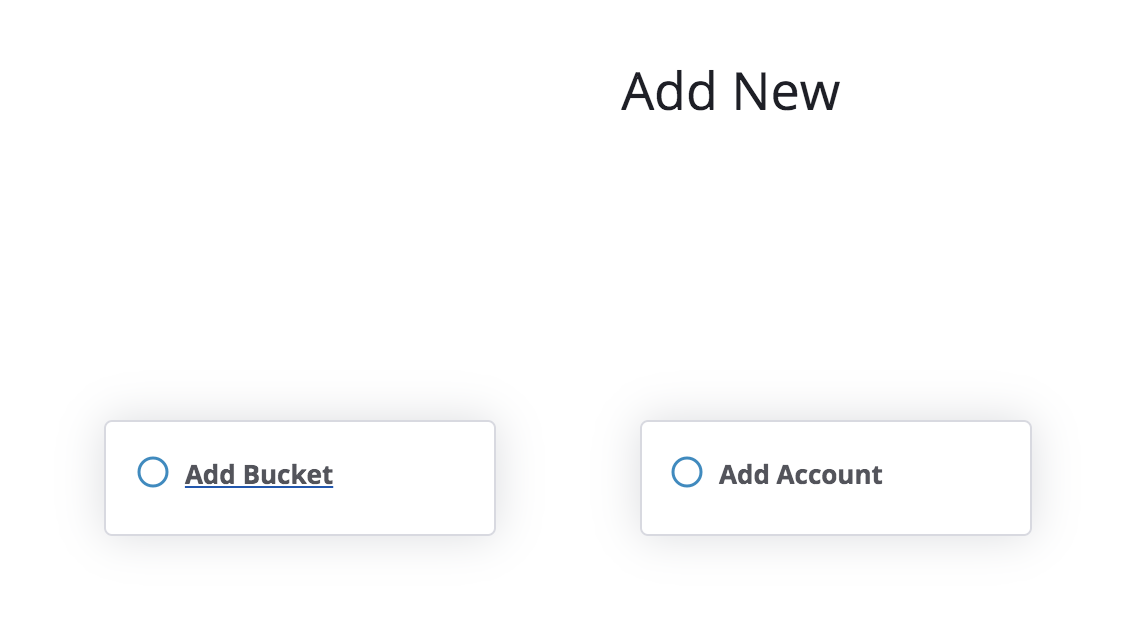
3. If one bucket needs to be migrated via Komprise, choose “Add Bucket”, if multiple buckets need to be analyzed and migrated, “Add Account”
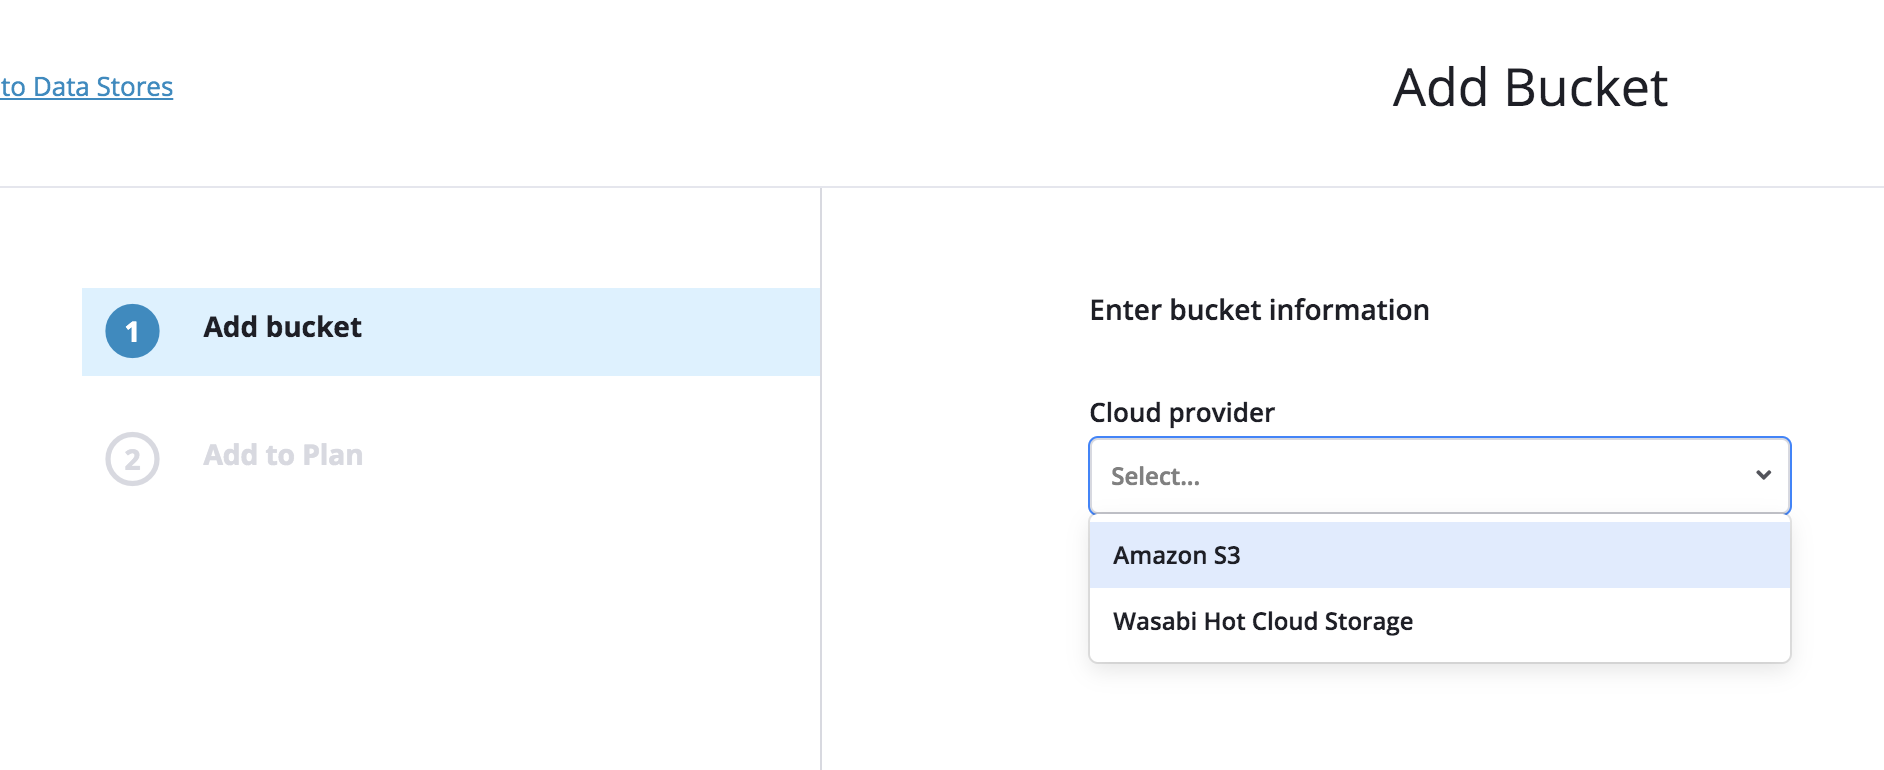
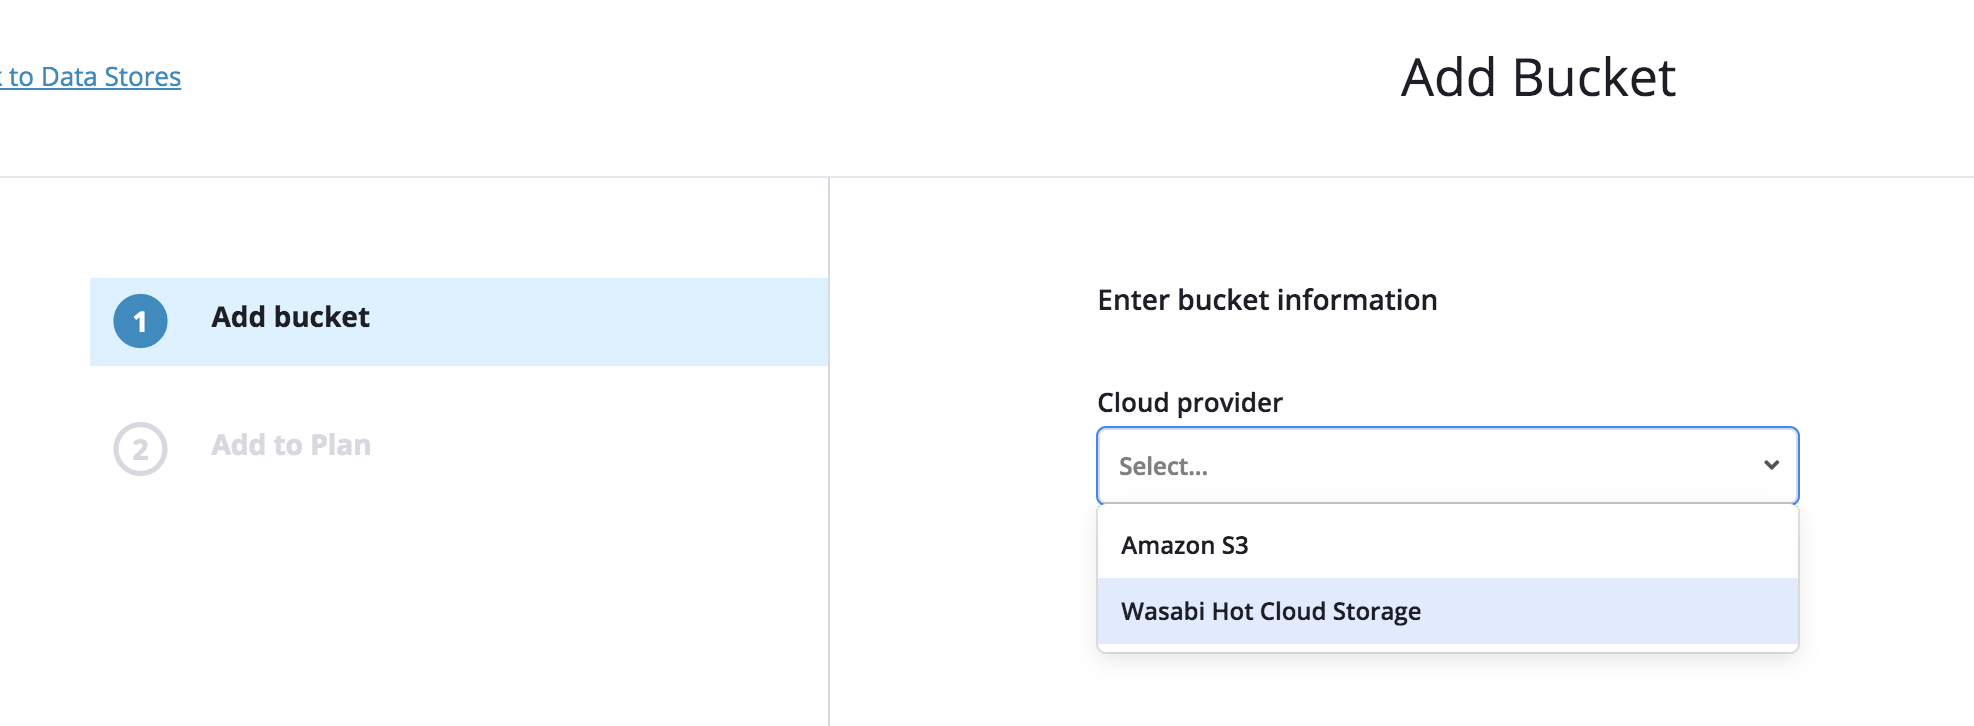
4. Choose “Amazon S3” from drop down option:
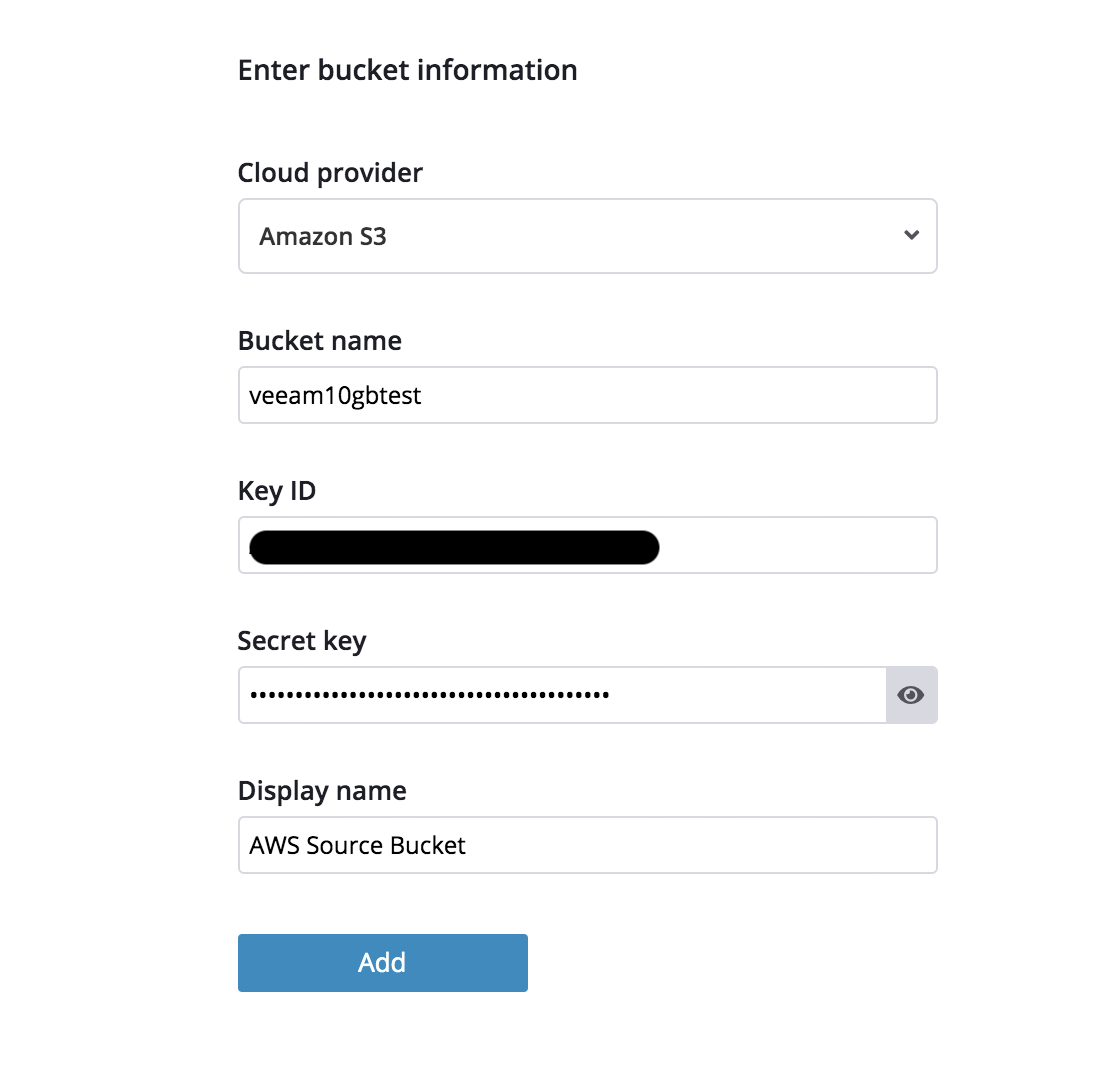
5. Provide the following information and click “Add”
- Bucket Name
- Key ID
- Secret Key
- Display name
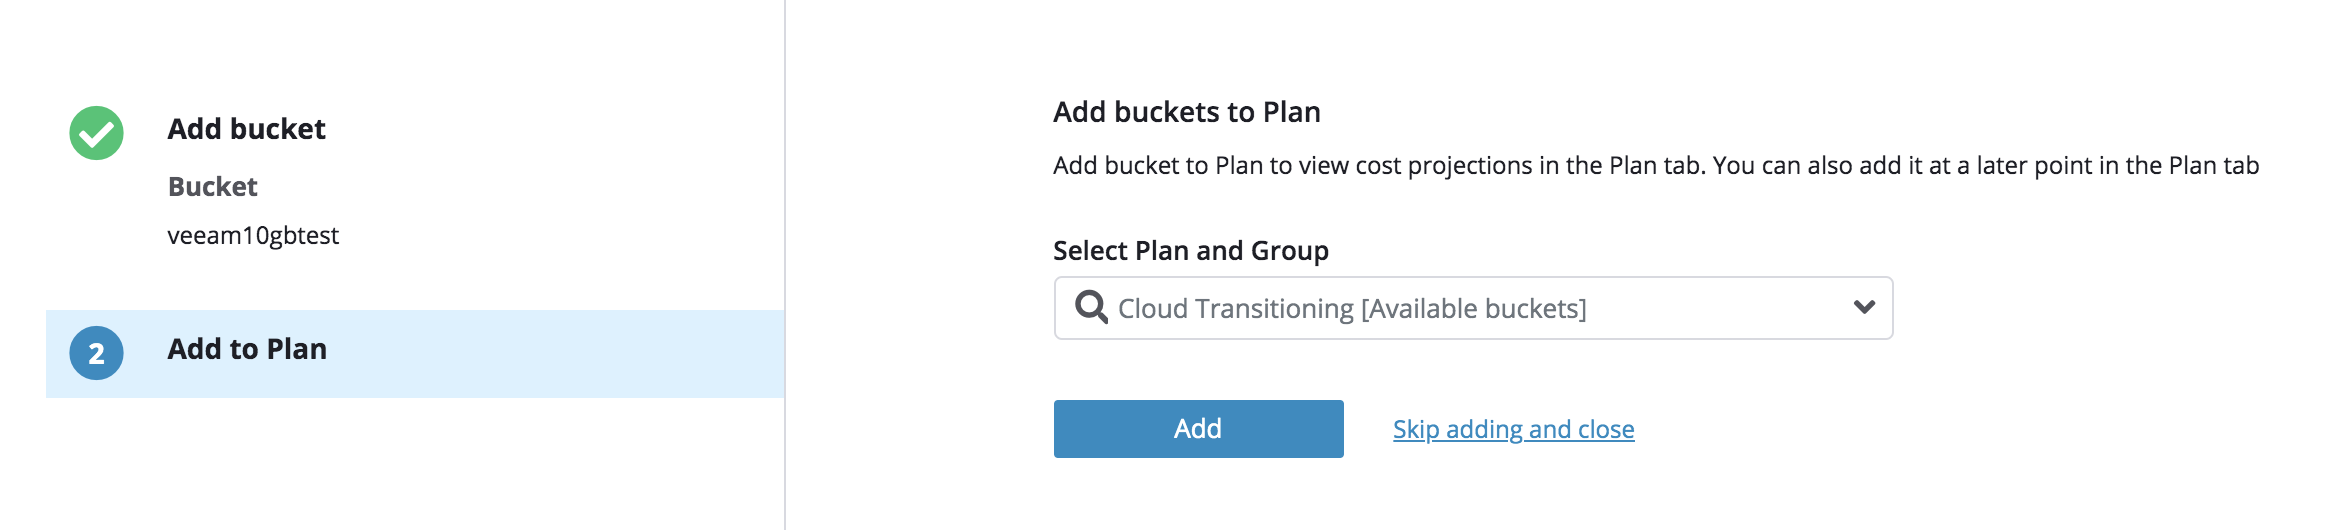
6. Optionally choose a plan “Cloud Transitioning (Available buckets) and click “Add”
7. Once added, Komprise will analyze data inside your bucket:

Note: Komprise auto generates a random Canonical ID for every bucket/account added to the service. This randomly generated ID is not searchable.
8. Click “+ Add New” to add Wasabi as the destination bucket
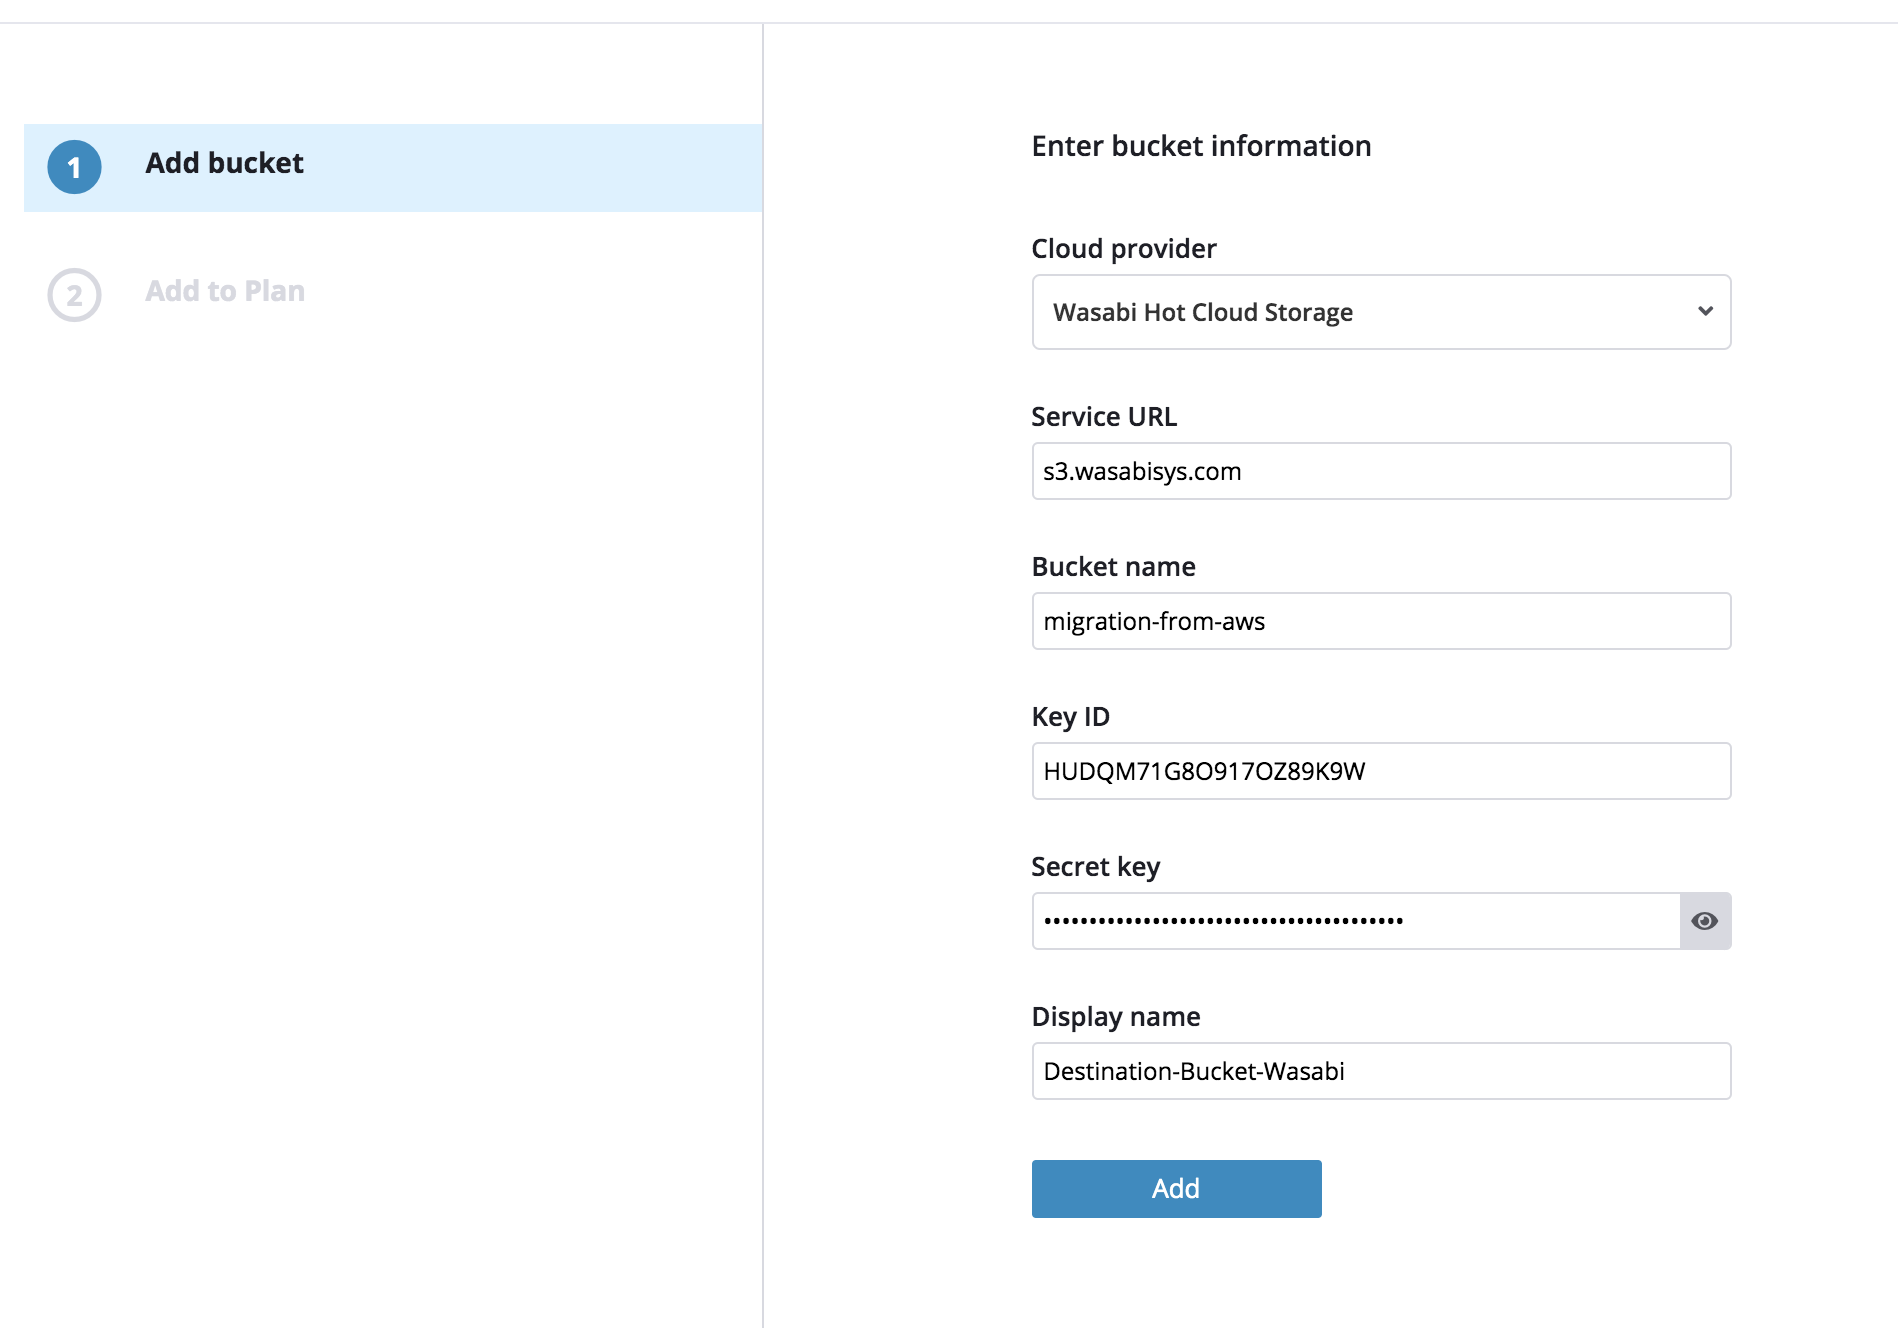
9. Provide the following info and click “Add”
- Service URL
- Bucket name
- Key ID
- Secret Key
- Display name
Note: This config example discusses the use of Wasabi's us-east-1 storage region. To use other Wasabi storage regions, please use the appropriate Wasabi service URL as described in this article
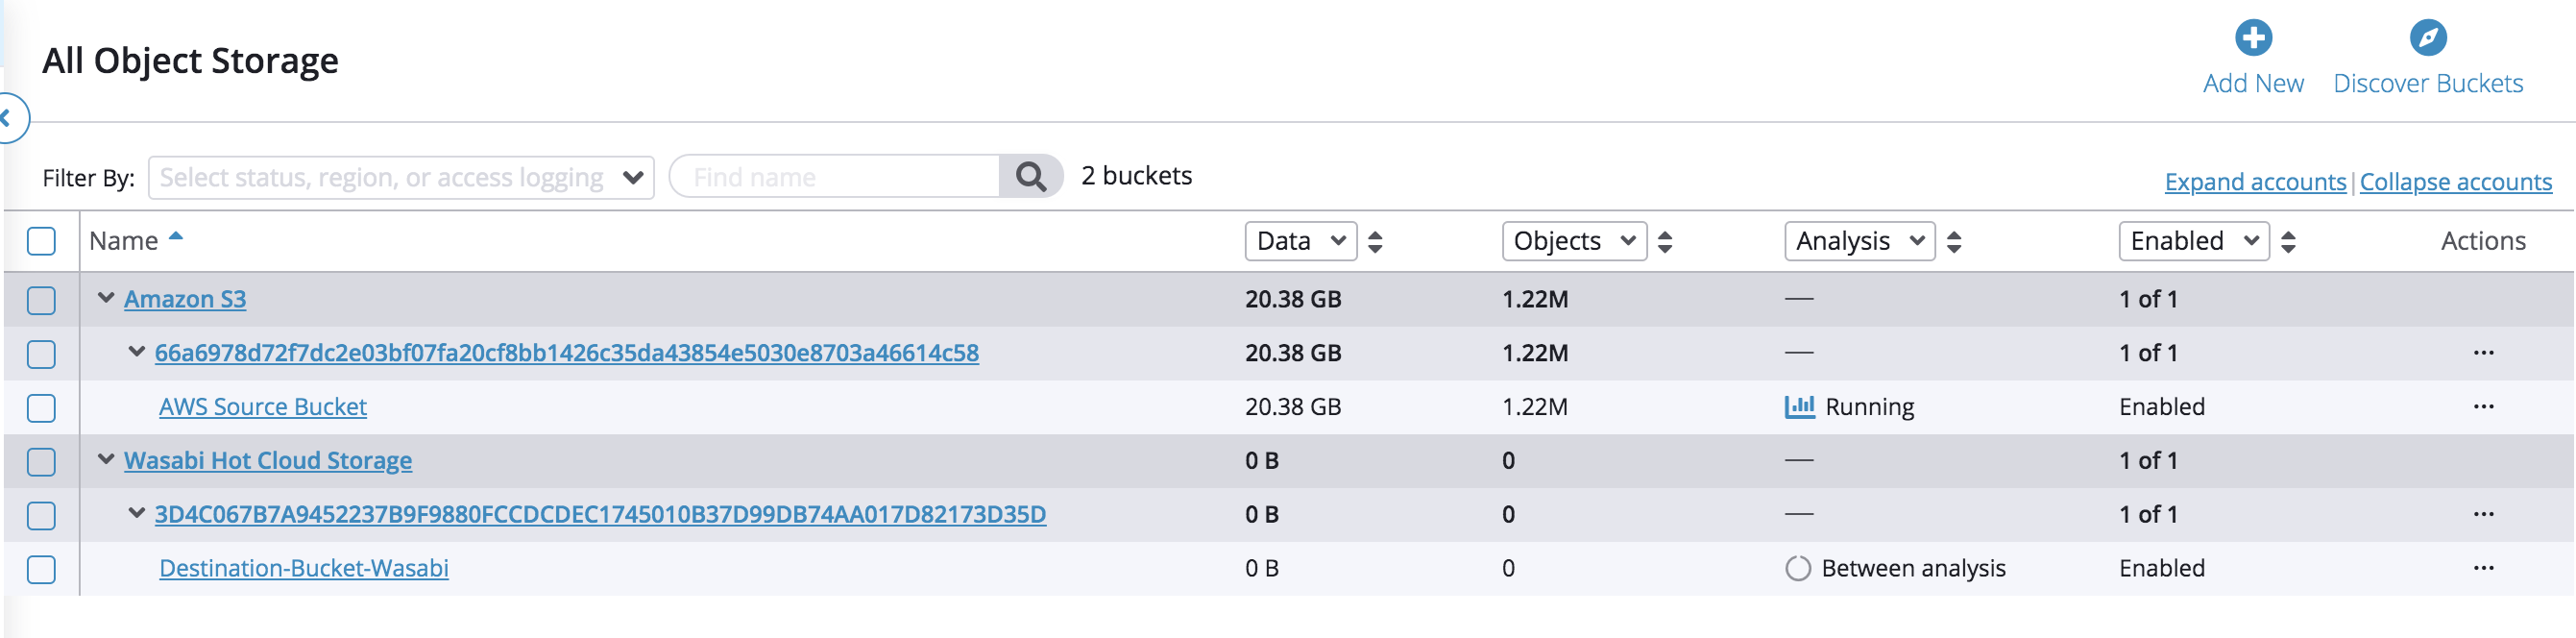
10. Once added Komprise will run analysis on the destination bucket as well:
11. Navigate to “Migrations” and click on “New Migration”

12. Choose source AWS bucket and click “Next”
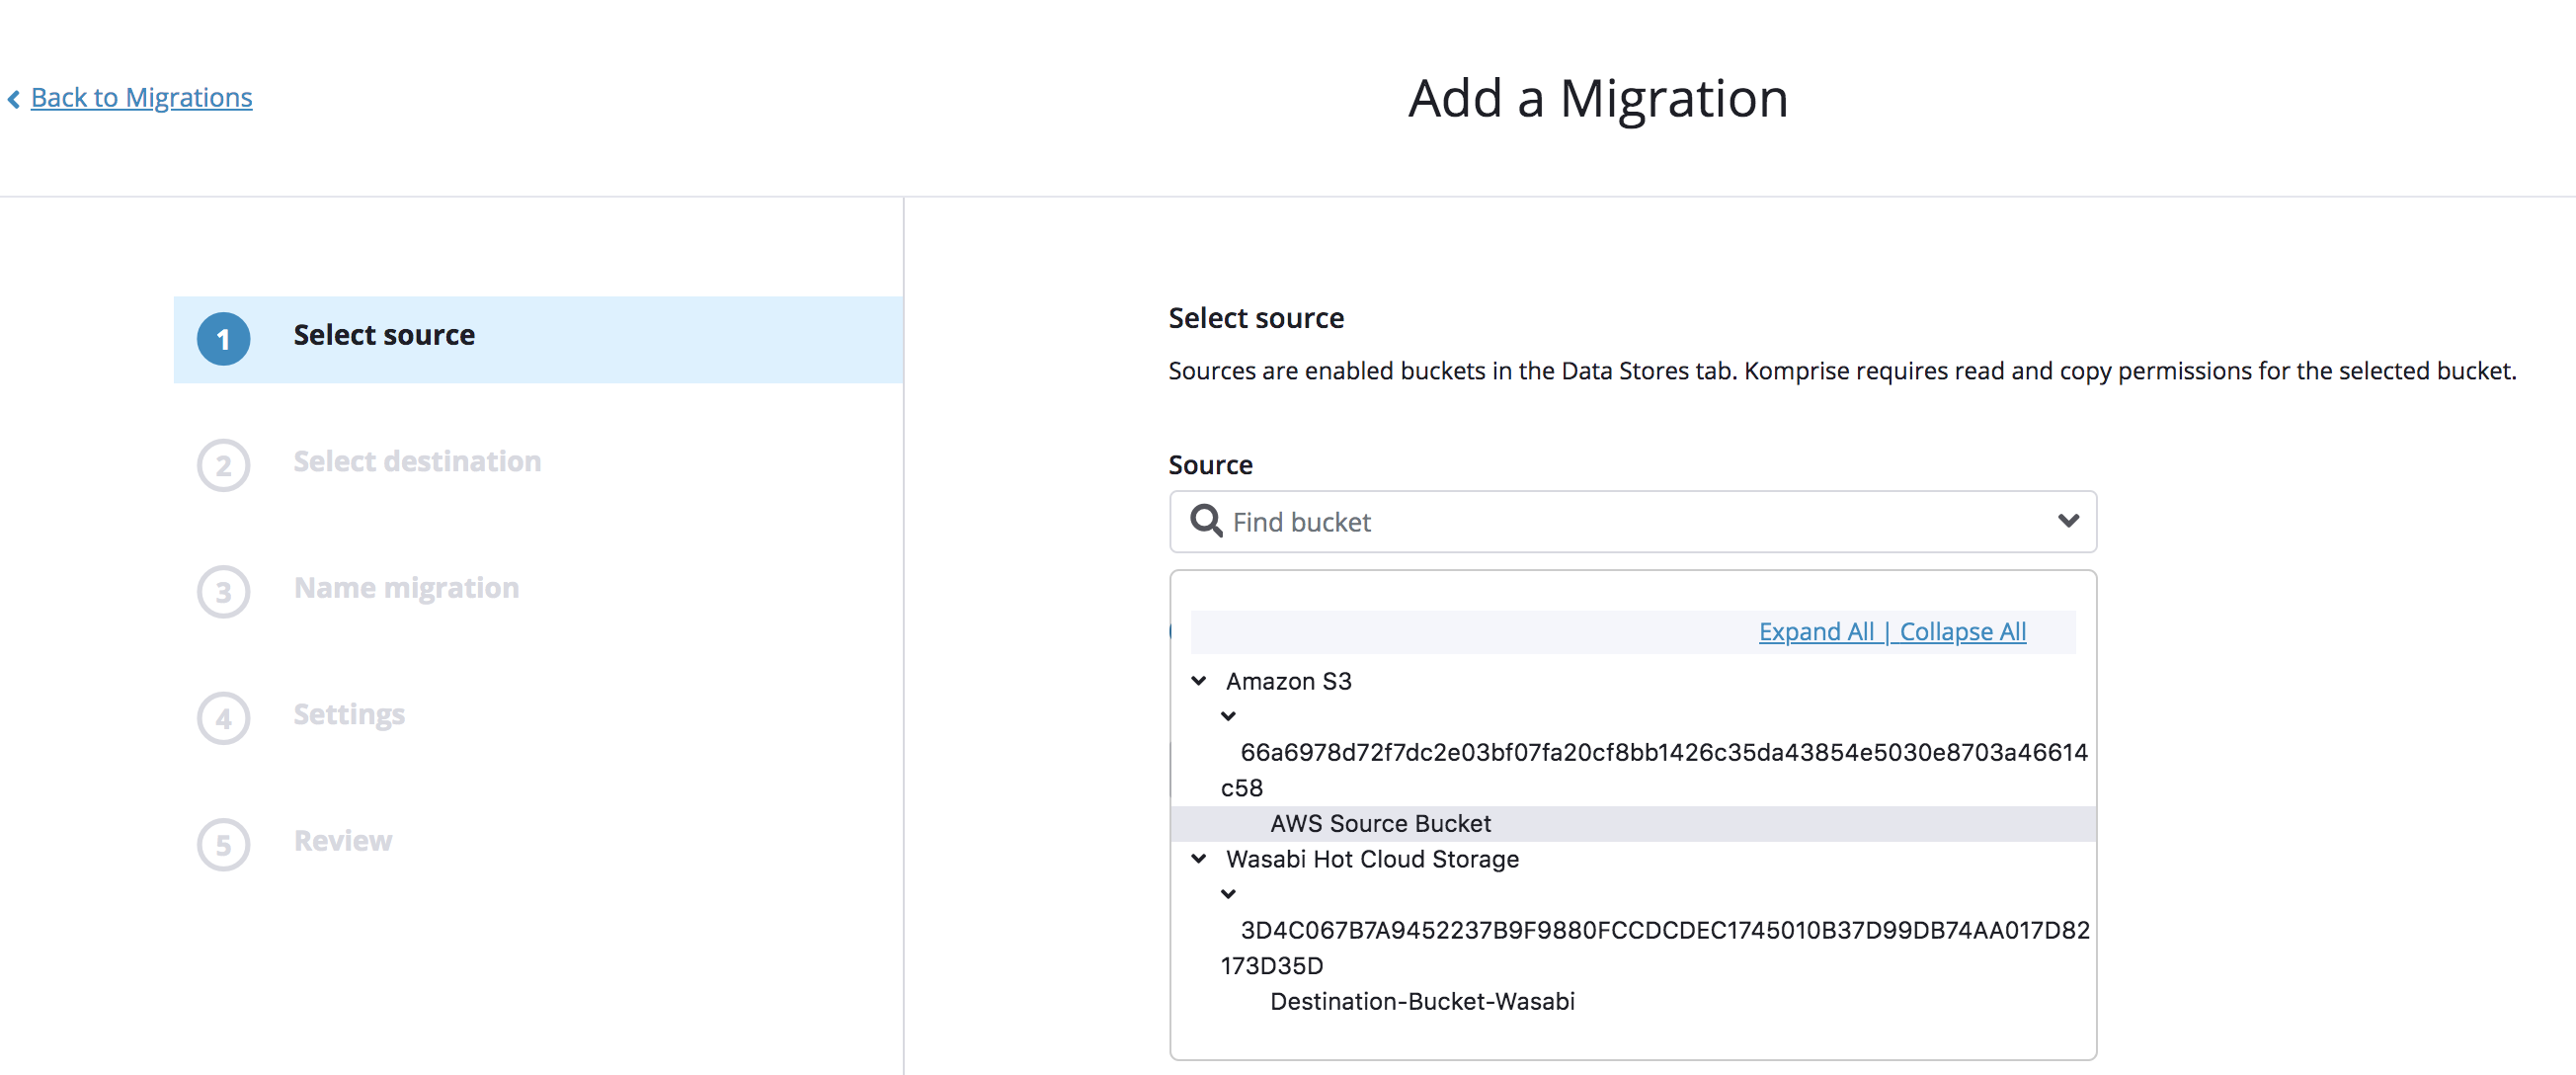
Note: Optionally data with a set prefix could also be configured as part of the migration.
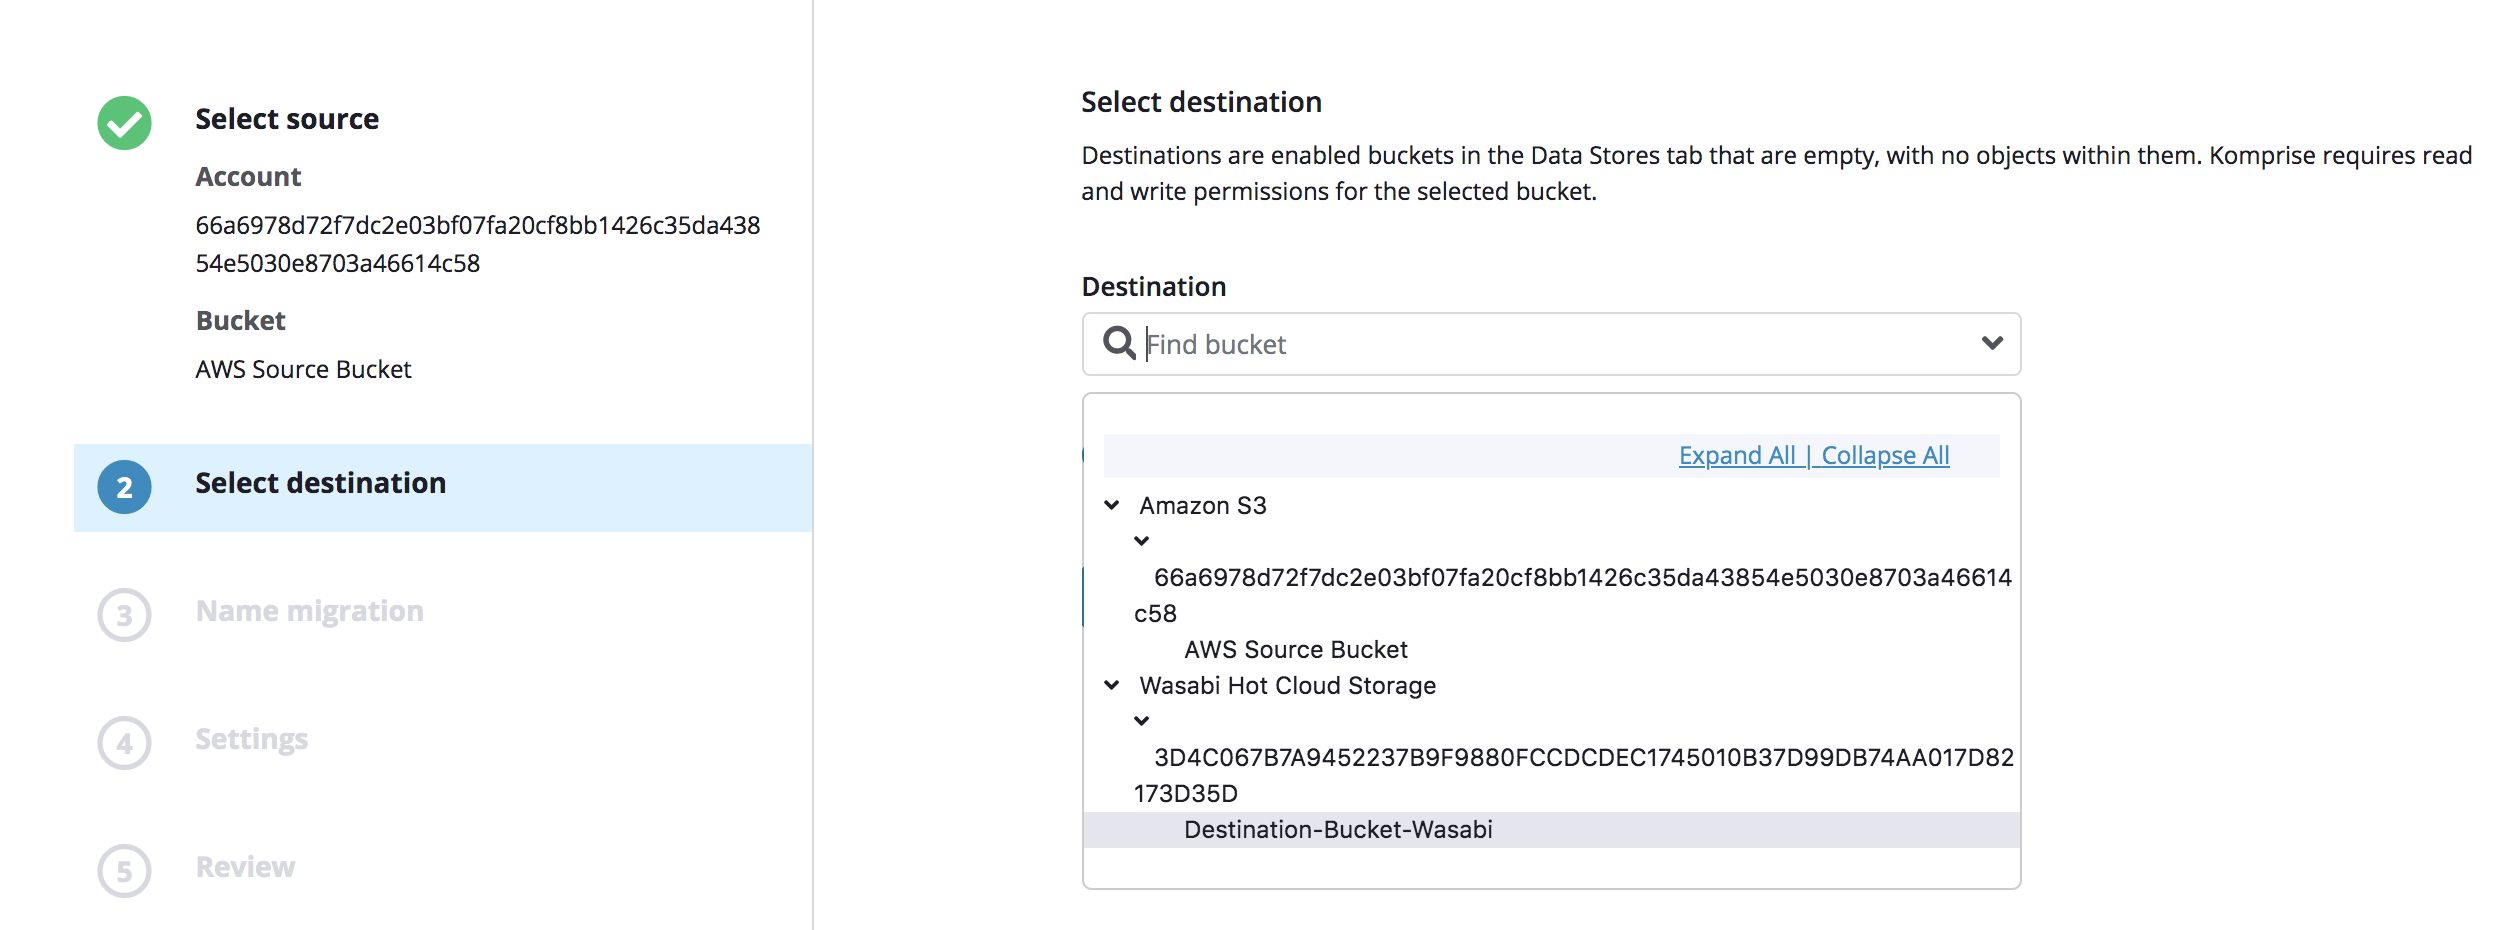
13. Choose destination Wasabi bucket and click “Next”
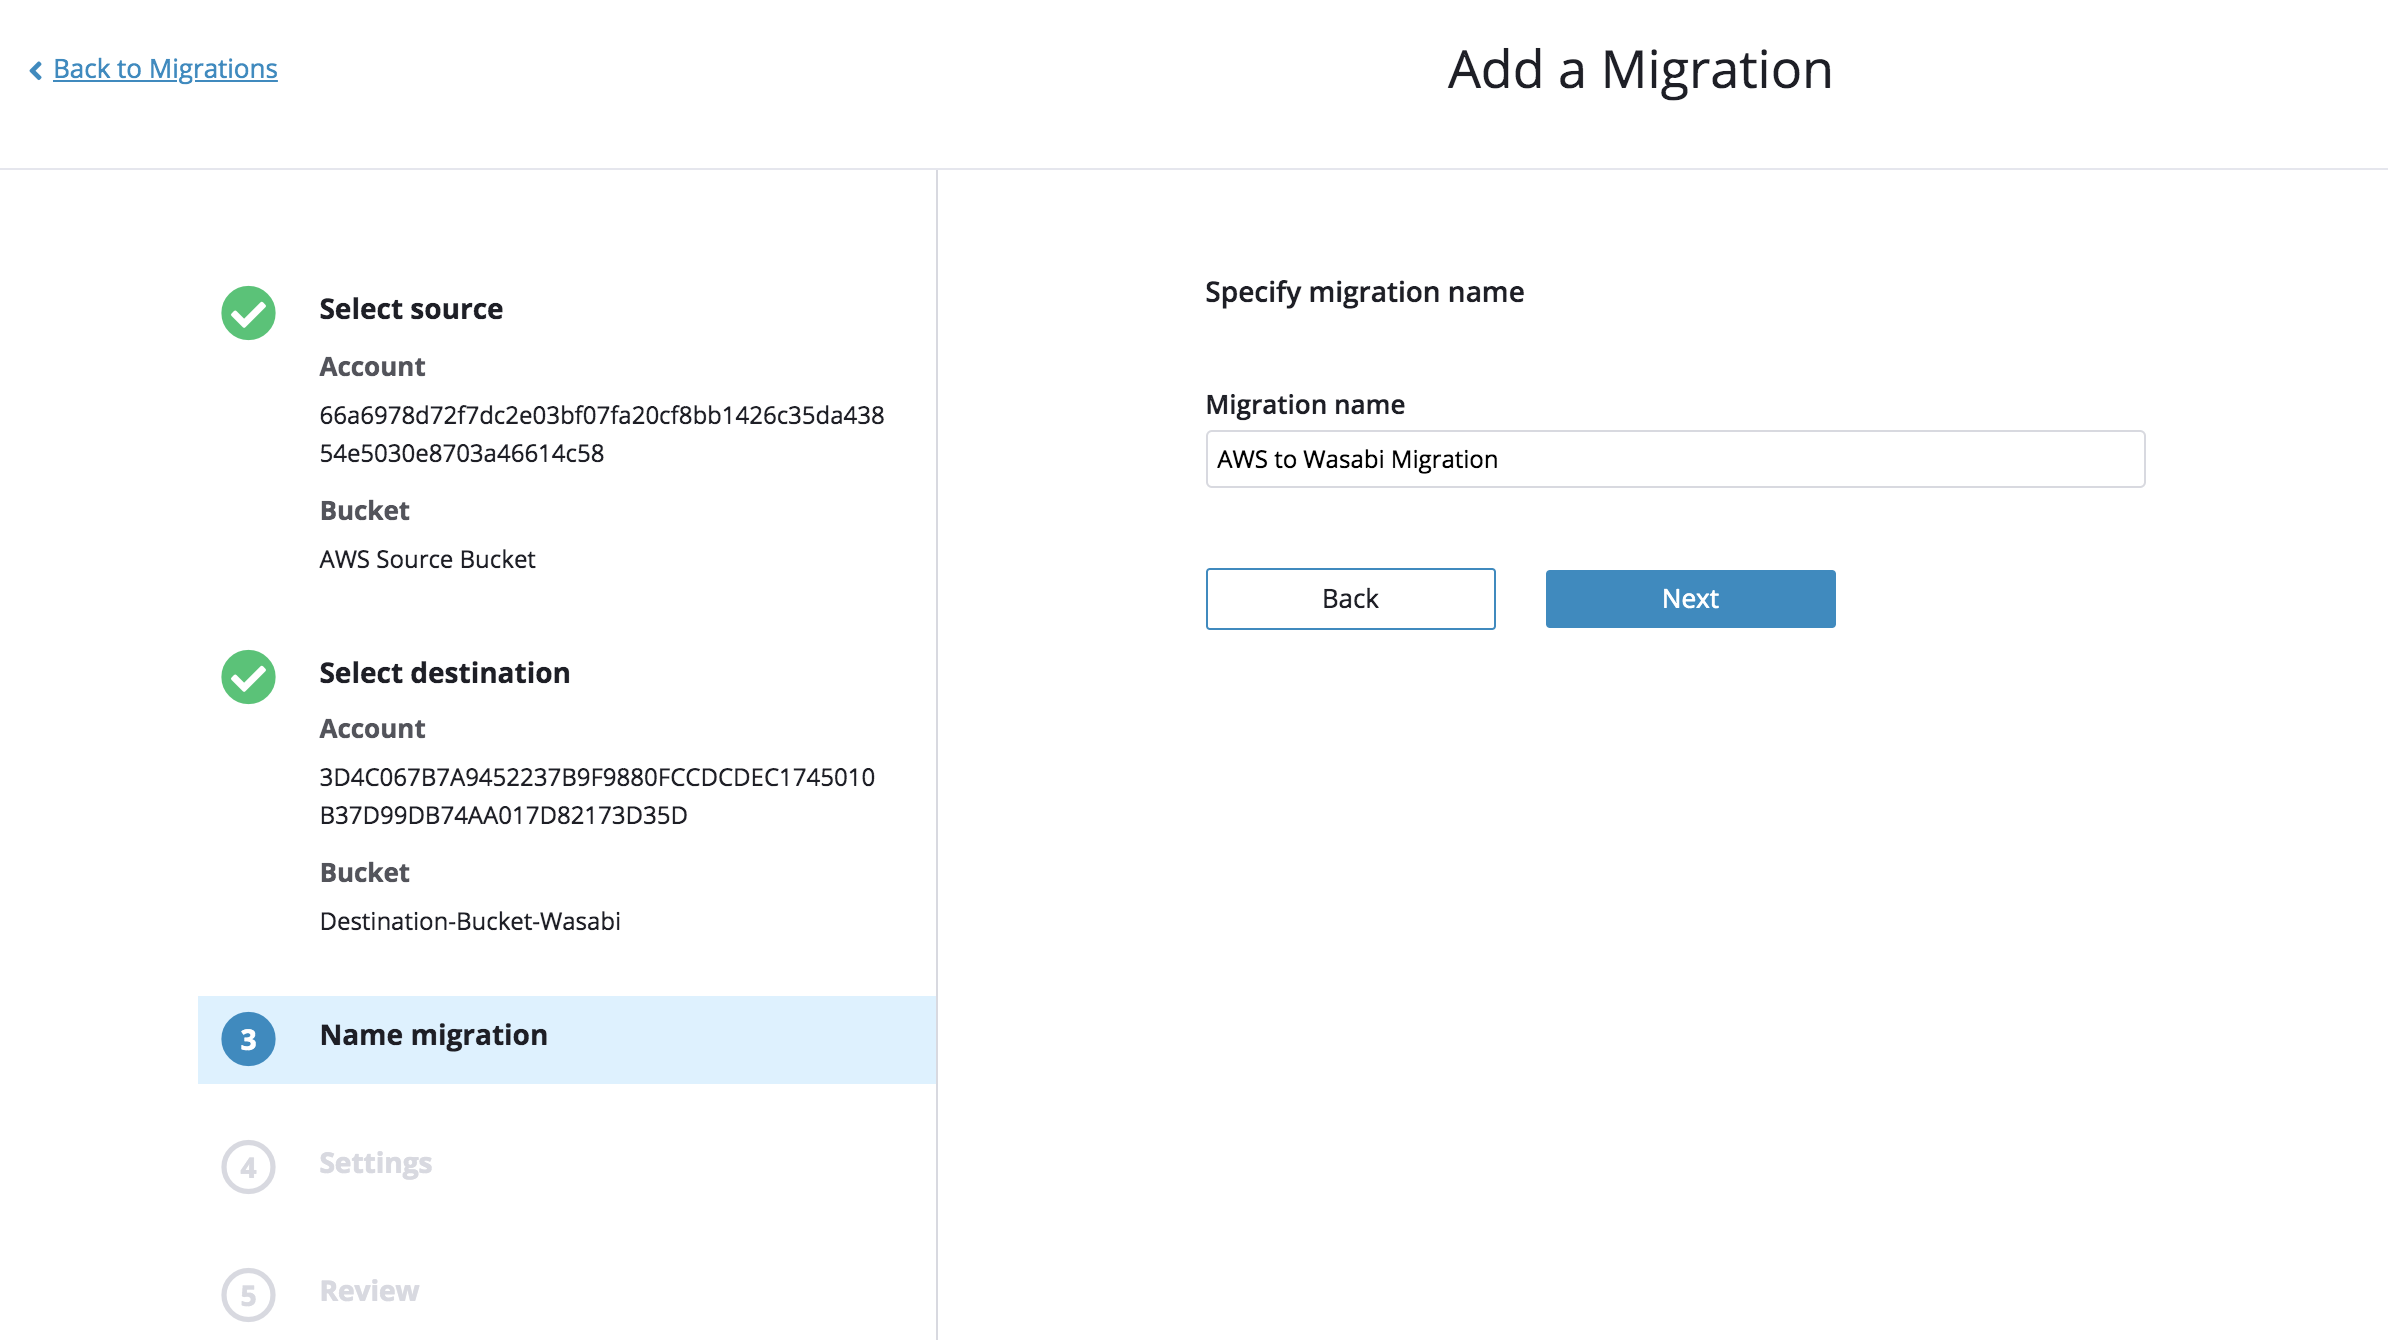
 14. Provide the migration a name:
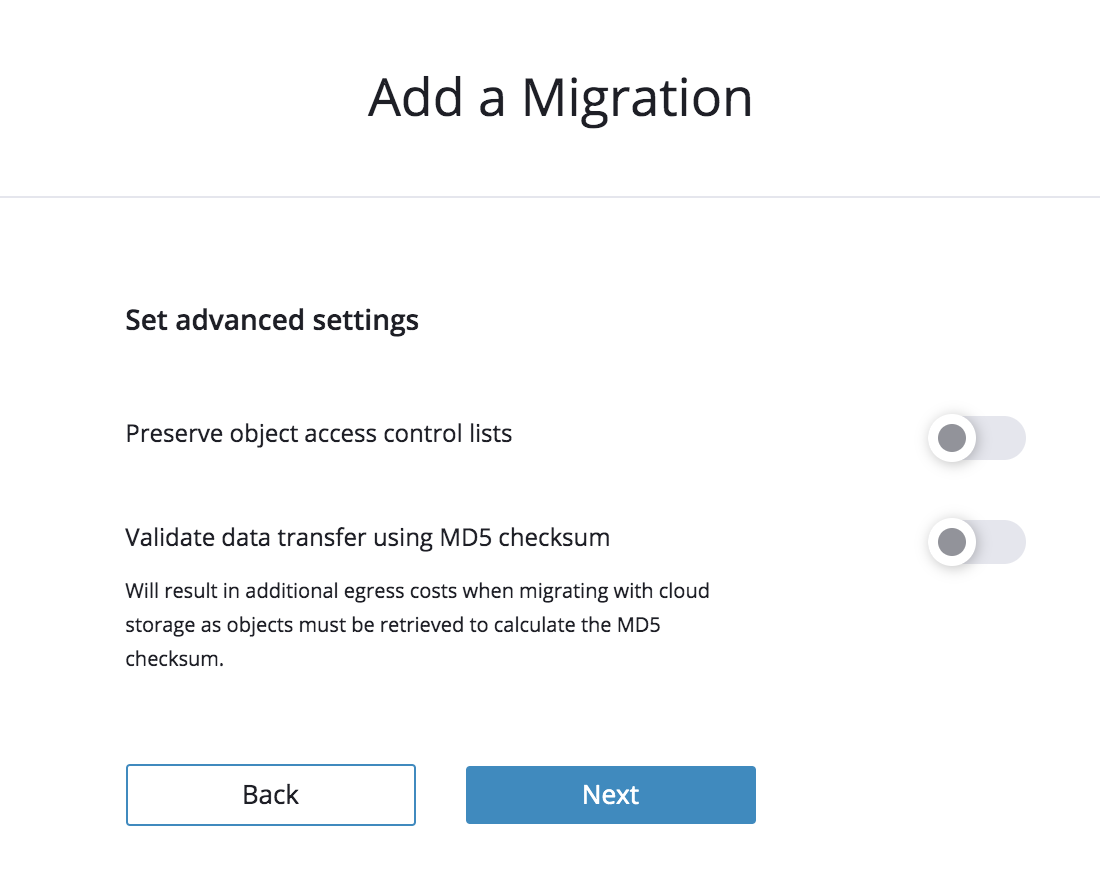
15. Uncheck “Preserve object access control lists” and click “Next”
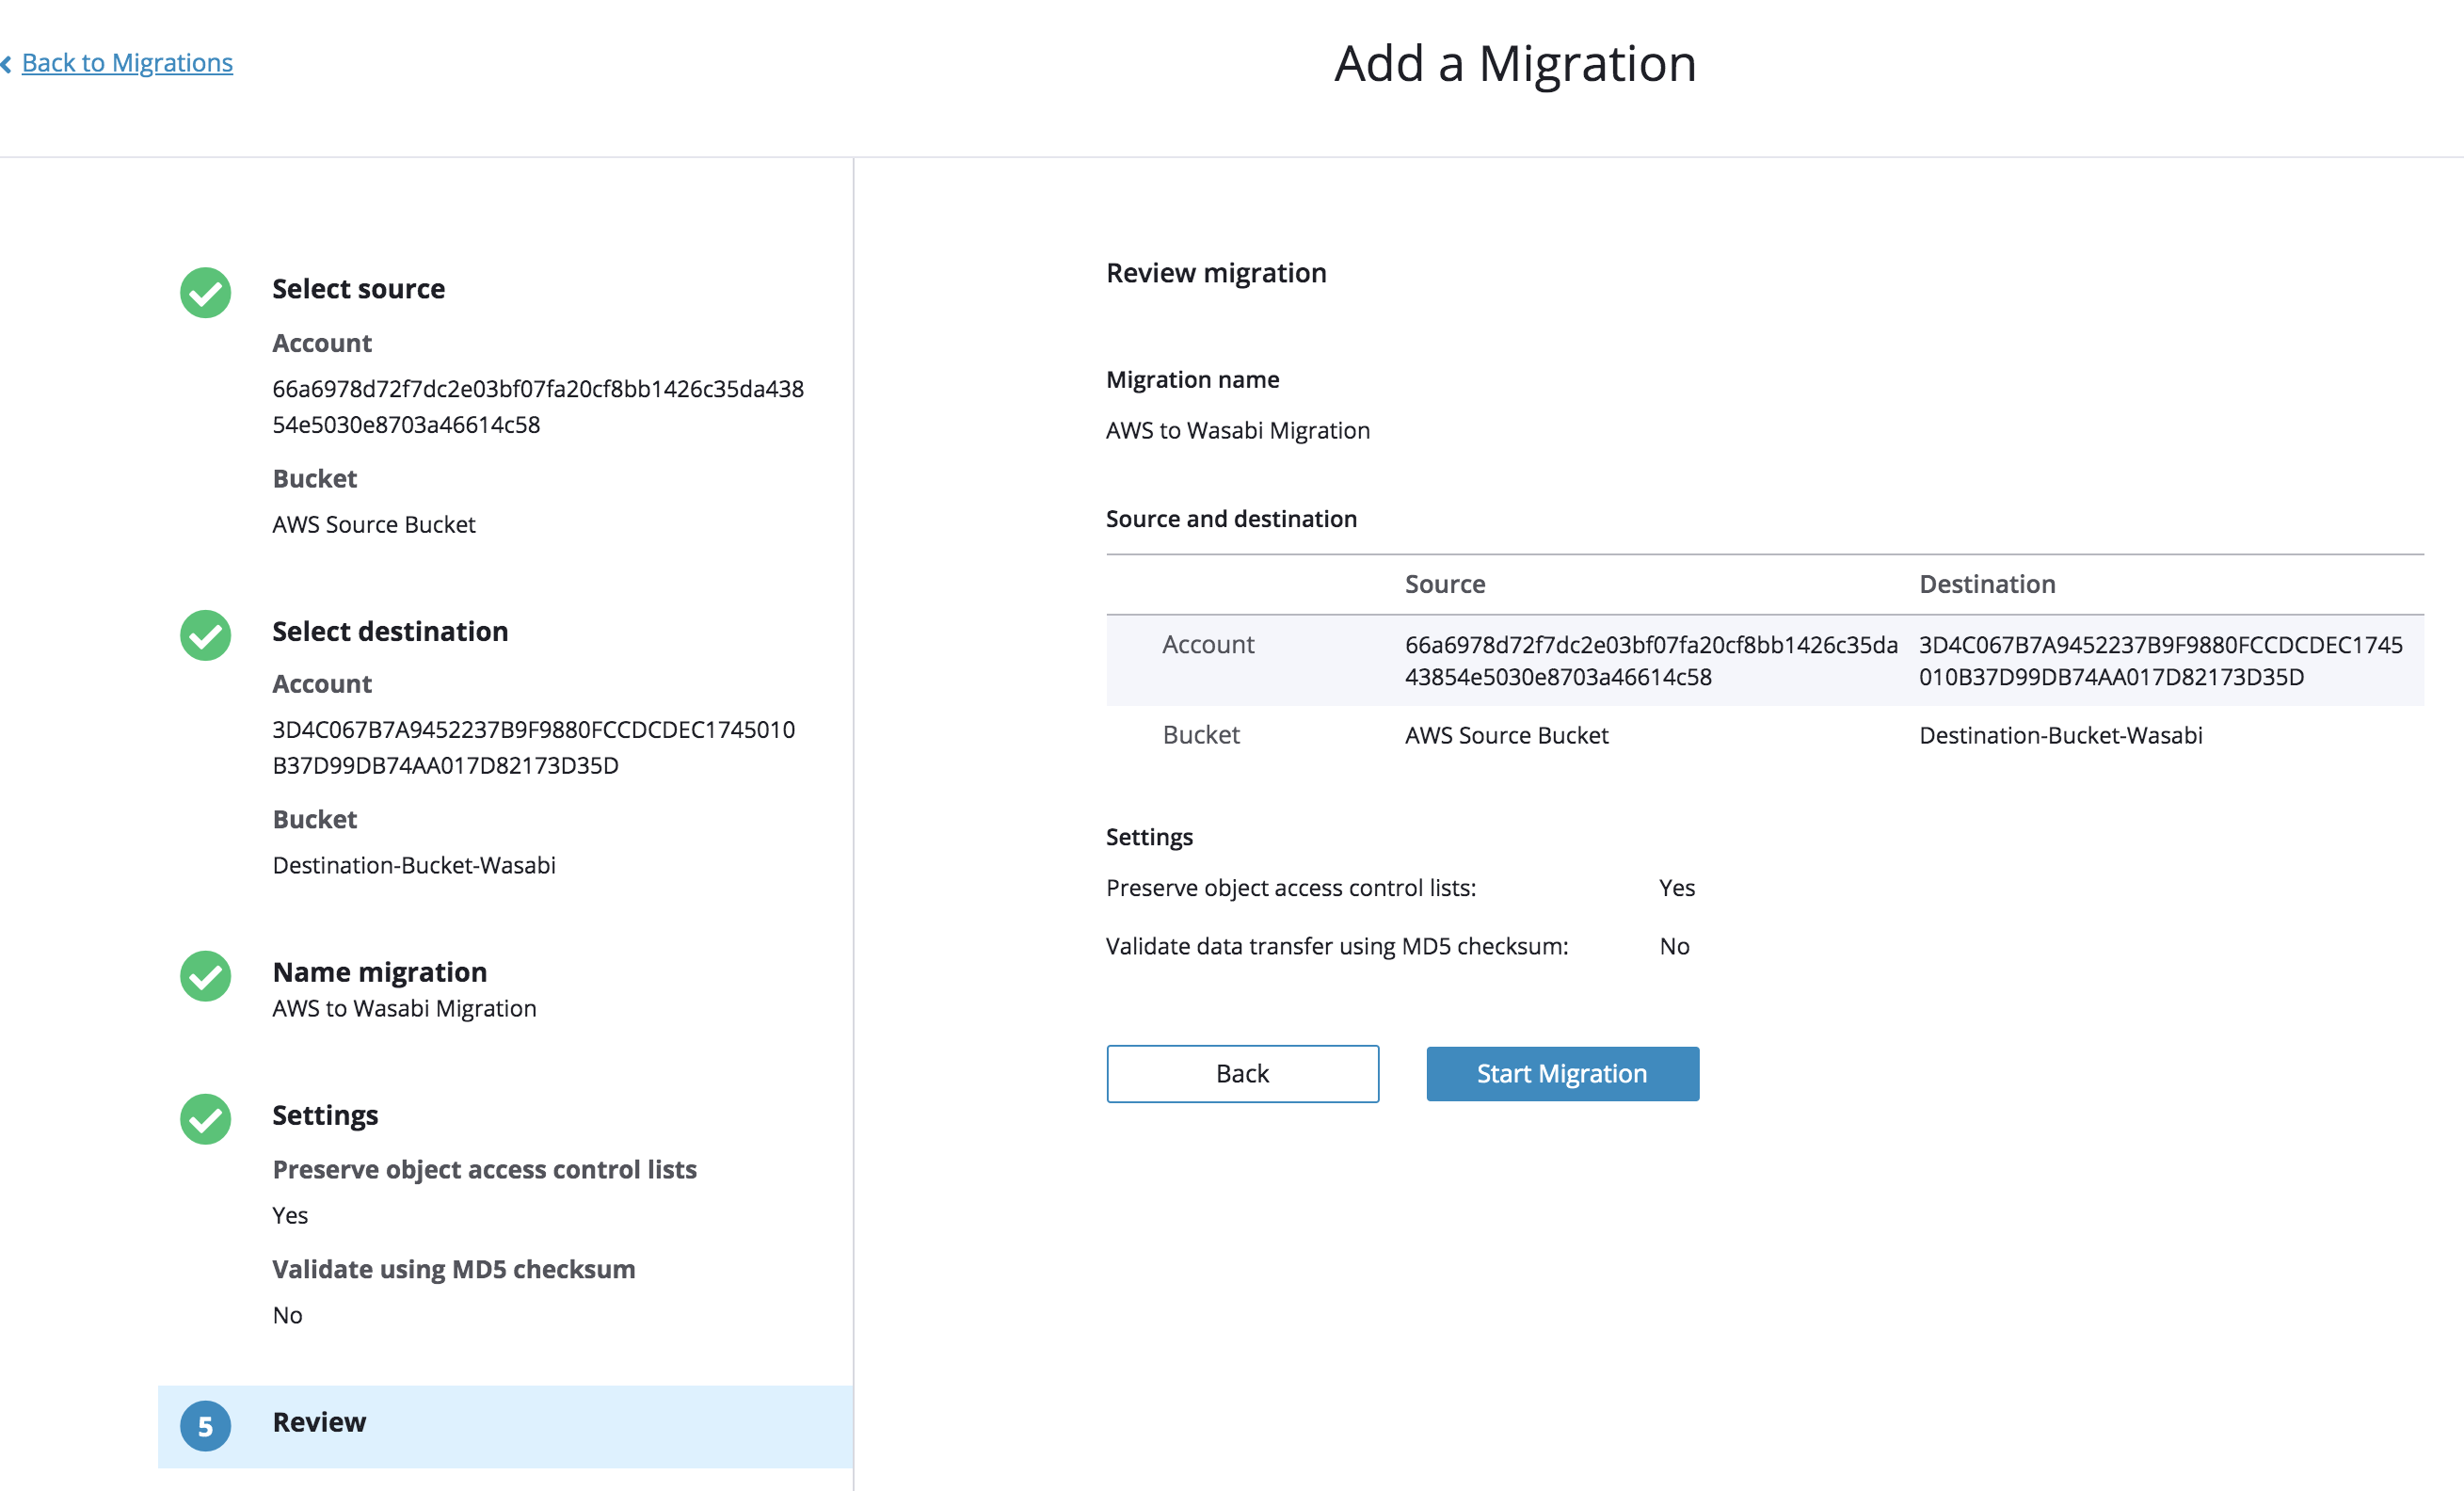
16. Review the migration details and then click “Start Migration”
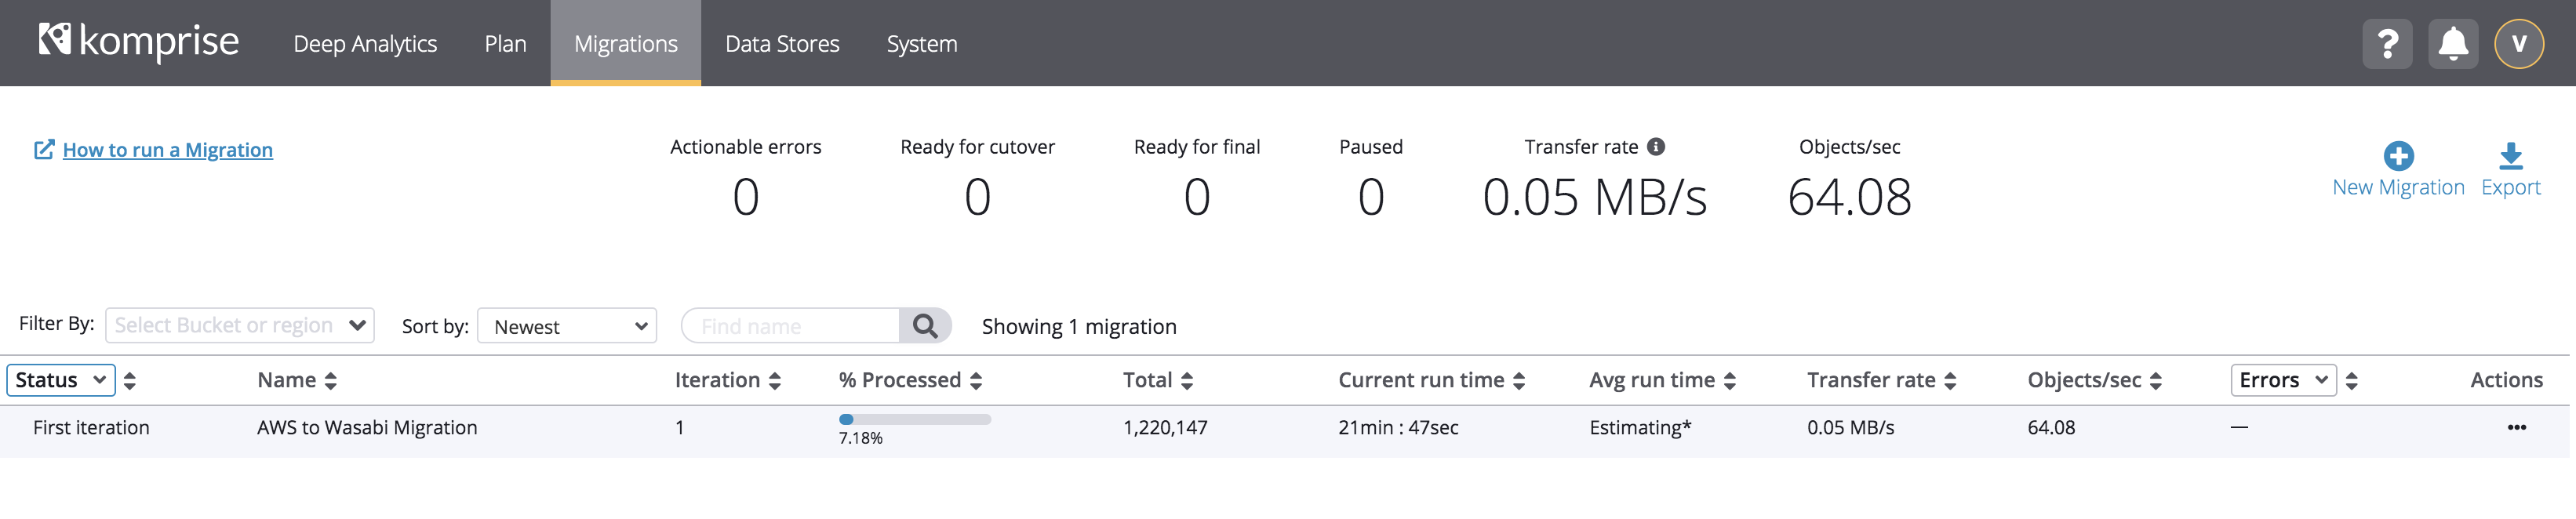
17. Once the migration starts, progress report is available for review:
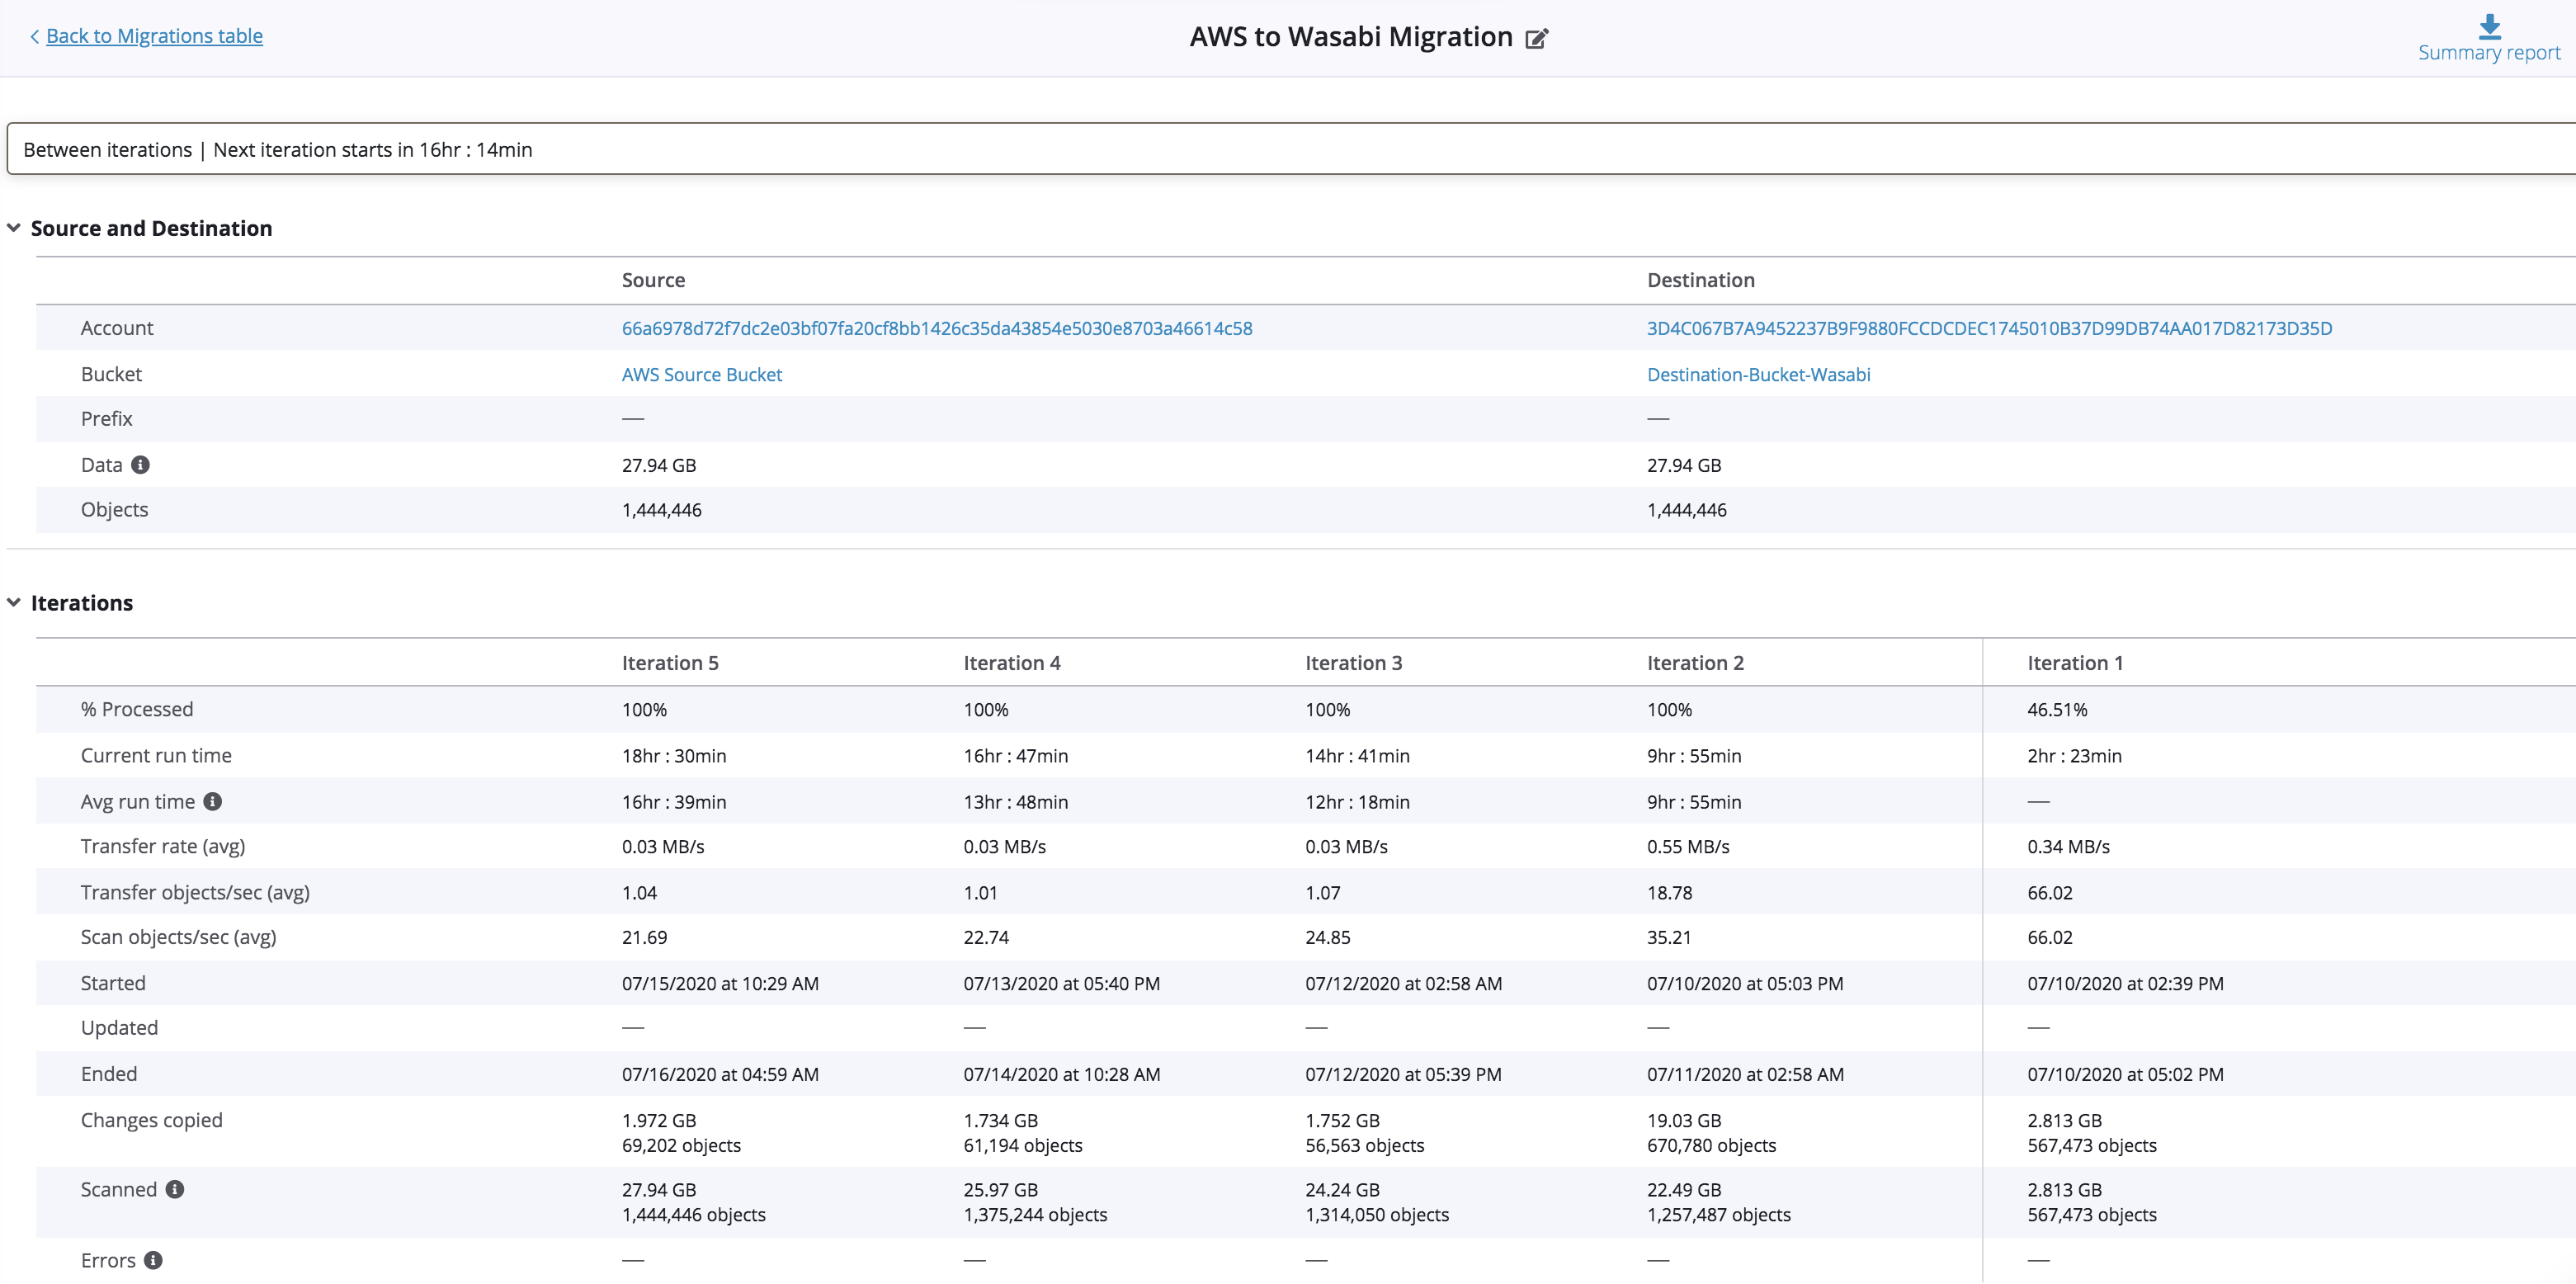
18. Optionally, click on “…” and choose “View details” to review a detailed summary of the migration job
19. Once migration completes, all of the objects migrated will be found in Wasabi bucket:
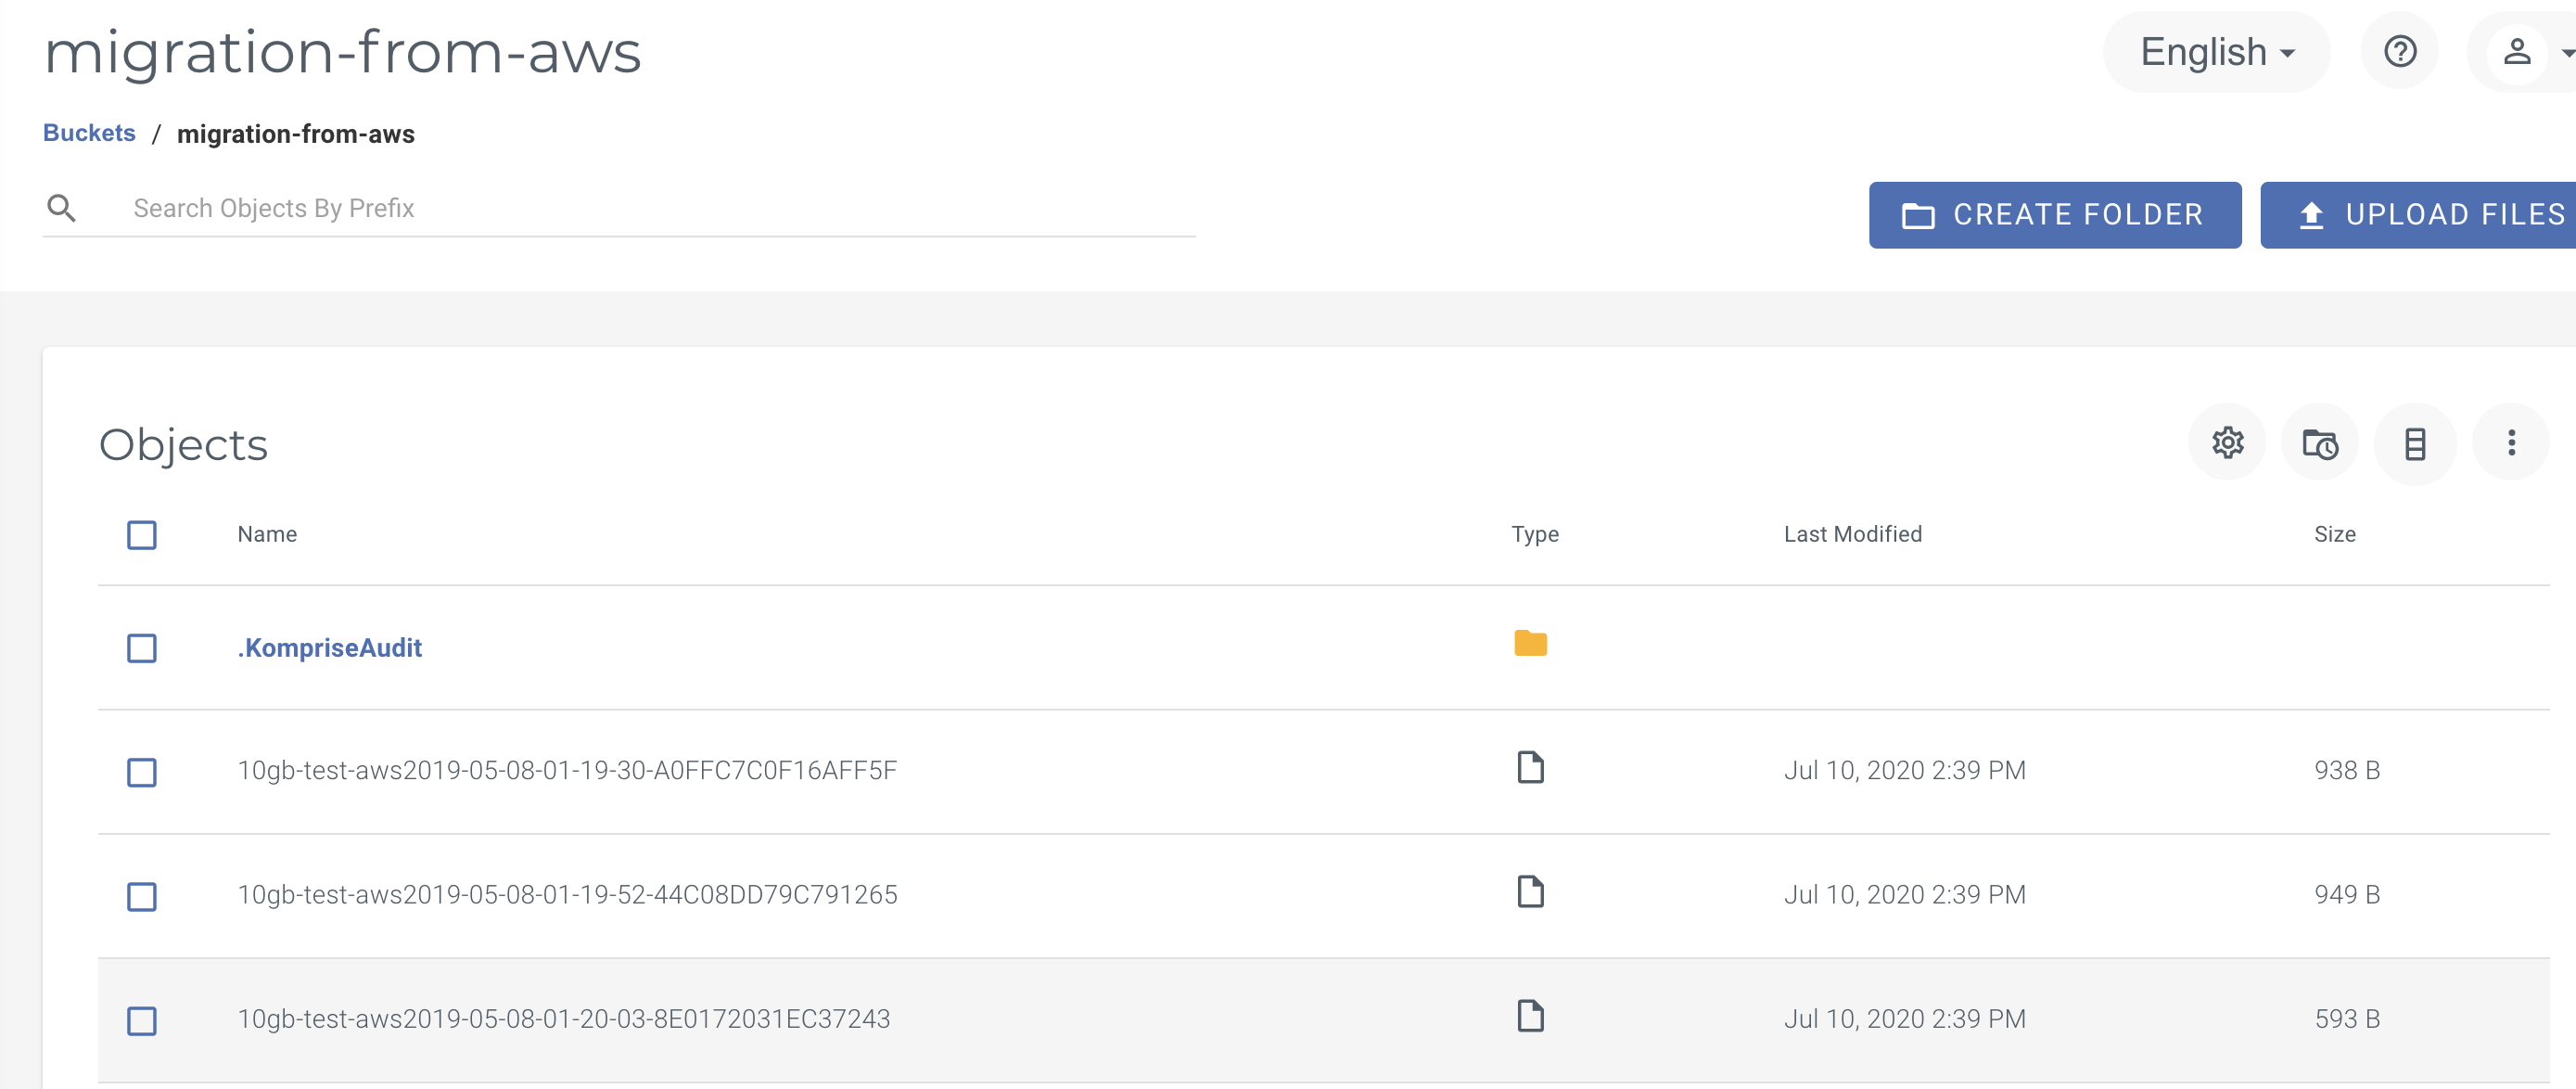
the bucket
Komprise Intelligent Data management has been validated for use with Wasabi. Follow steps outlined below to configure Wasabi as a cloud storage target.
1. Login to your Komprise account:
2. Click on “Data Stores” and click “Add New”
3. If one bucket needs to be migrated via Komprise, choose “Add Bucket”, if multiple buckets need to be analyzed and migrated, “Add Account”
4. Choose “Amazon S3” from drop down option:
5. Provide the following information and click “Add”
- Bucket Name
- Key ID
- Secret Key
- Display name
6. Optionally choose a plan “Cloud Transitioning (Available buckets) and click “Add”
7. Once added, Komprise will analyze data inside your bucket:
Note: Komprise auto generates a random Canonical ID for every bucket/account added to the service. This randomly generated ID is not searchable.
8. Click “+ Add New” to add Wasabi as the destination bucket
9. Provide the following info and click “Add”
- Service URL
- Bucket name
- Key ID
- Secret Key
- Display name
Note: This config example discusses the use of Wasabi's us-east-1 storage region. To use other Wasabi storage regions, please use the appropriate Wasabi service URL as described in this article
10. Once added Komprise will run analysis on the destination bucket as well:
11. Navigate to “Migrations” and click on “New Migration”
12. Choose source AWS bucket and click “Next”
Note: Optionally data with a set prefix could also be configured as part of the migration.
13. Choose destination Wasabi bucket and click “Next”
14. Provide the migration a name:
15. Uncheck “Preserve object access control lists” and click “Next”
16. Review the migration details and then click “Start Migration”
17. Once the migration starts, progress report is available for review:
18. Optionally, click on “…” and choose “View details” to review a detailed summary of the migration job
19. Once migration completes, all of the objects migrated will be found in Wasabi bucket:
related articles

Protect Your Research Data with Cost-friendly, Powerful Cloud Backup Solution from Wasabi and Atempo

Addressing AI Infrastructure Challenges with Wasabi and Hammerspace

Unleash the Power of Cyber Resilience: Acronis and Wasabi Join Forces

Introducing Wasabi AiR: Unleash the Power of AI with Intelligent Media Storage

Why More Organizations Are Choosing Cloud Storage for their Video Surveillance Data
featured articles
WASABI MEDIA & ENTERTAINMENT
April 10, 2024
Introducing Wasabi AiR: Unleash the Power of AI wit...
Introducing Wasabi AiR: Unleash the Power of AI wi...
TECH PARTNERS HEALTHCARE
April 18, 2024
Protect Your Research Data with Cost-friendly, Powe...
Protect Your Research Data with Cost-friendly, Pow...
TECH PARTNERS
April 11, 2024
Addressing AI Infrastructure Challenges with Wasabi...
Addressing AI Infrastructure Challenges with Wasab...
VIDEO SURVEILLANCE
April 9, 2024
Why More Organizations Are Choosing Cloud Storage f...
Why More Organizations Are Choosing Cloud Storage ...
TECH PARTNERS
April 10, 2024